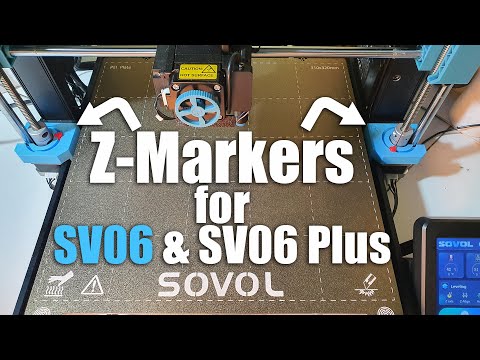
Z Markers for Sovol SV06 and SV06 Plus
:format(webp)/https://files.cults3d.com/uploaders/22944044/illustration-file/d1f89cab-3608-45c9-9b2b-633ce67f99eb/20230701_120453.jpg)


/https://preview3d-images.cults3d.com/boteavvz0sano83q4ukeavd7i7zh)
/https://preview3d-images.cults3d.com/246k9z4tns8mnxsqv0w55iv9k4zi)
/https://preview3d-images.cults3d.com/ath4rrxlqfv1bma1nqf0gint82oz)
/https://preview3d-images.cults3d.com/3fxgdoh9xe1swfio5ixr7zhxg9bh)
/https://preview3d-images.cults3d.com/7v90jqf92me4d5iinmd3djjddvbu)
/https://preview3d-images.cults3d.com/eo5lb0yt8h6h7mvqn1g0tp73i4vy)
/https://preview3d-images.cults3d.com/s41cc672f1yxu6a2crpejtv92g8g)
/https://preview3d-images.cults3d.com/bhv06mj4iufqiw76carvwyxgzavi)
/https://preview3d-images.cults3d.com/y9qdt6daxy1oedw618gu9g9z8axc)
/https://preview3d-images.cults3d.com/ck4wwtxne91lmn5bxnq0irdrhf1f)
/https://preview3d-images.cults3d.com/cjsvlfsix2ejdfbq0zihh03z4fds)
/https://preview3d-images.cults3d.com/ex05egeu0vbcg6zoje0tq41am1j3)
/https://preview3d-images.cults3d.com/yd220lkunrlbmg34vxufauuemvew)
/https://preview3d-images.cults3d.com/fzvtr6zt23q5cb44o58mcsf986kj)
Advertising
?
Creation quality:
5.0/5
(1 votevotes)
Evaluation of members on the printability, utility, level of detail, etc.
Your rating:
0/5
| Licence | CULTS - Private Use |
|---|---|
| Last update | 2023-07-03 at 06:45 |
| Publication date | 2023-06-29 at 19:22 |
| Design number | 1297954 |
| 3D design format |
STL Folder details Close
|


Issue with this design?
Report a problem.
Advertising
Would you like to support Cults?
You like Cults and you want to help us continue the adventure independently? Please note that we are a small team of 3 people, therefore it is very simple to support us to maintain the activity and create future developments. Here are 4 solutions accessible to all:
ADVERTISING: Disable your banner blocker (AdBlock, …) and click on our banner ads.
AFFILIATION: Make your purchases online by clicking on our affiliate links here Amazon.
DONATE: If you want, you can make a donation via Ko-Fi 💜.
WORD OF MOUTH: Invite your friends to come, discover the platform and the magnificent 3D files shared by the community!
Advertising