Перейти к содержанию

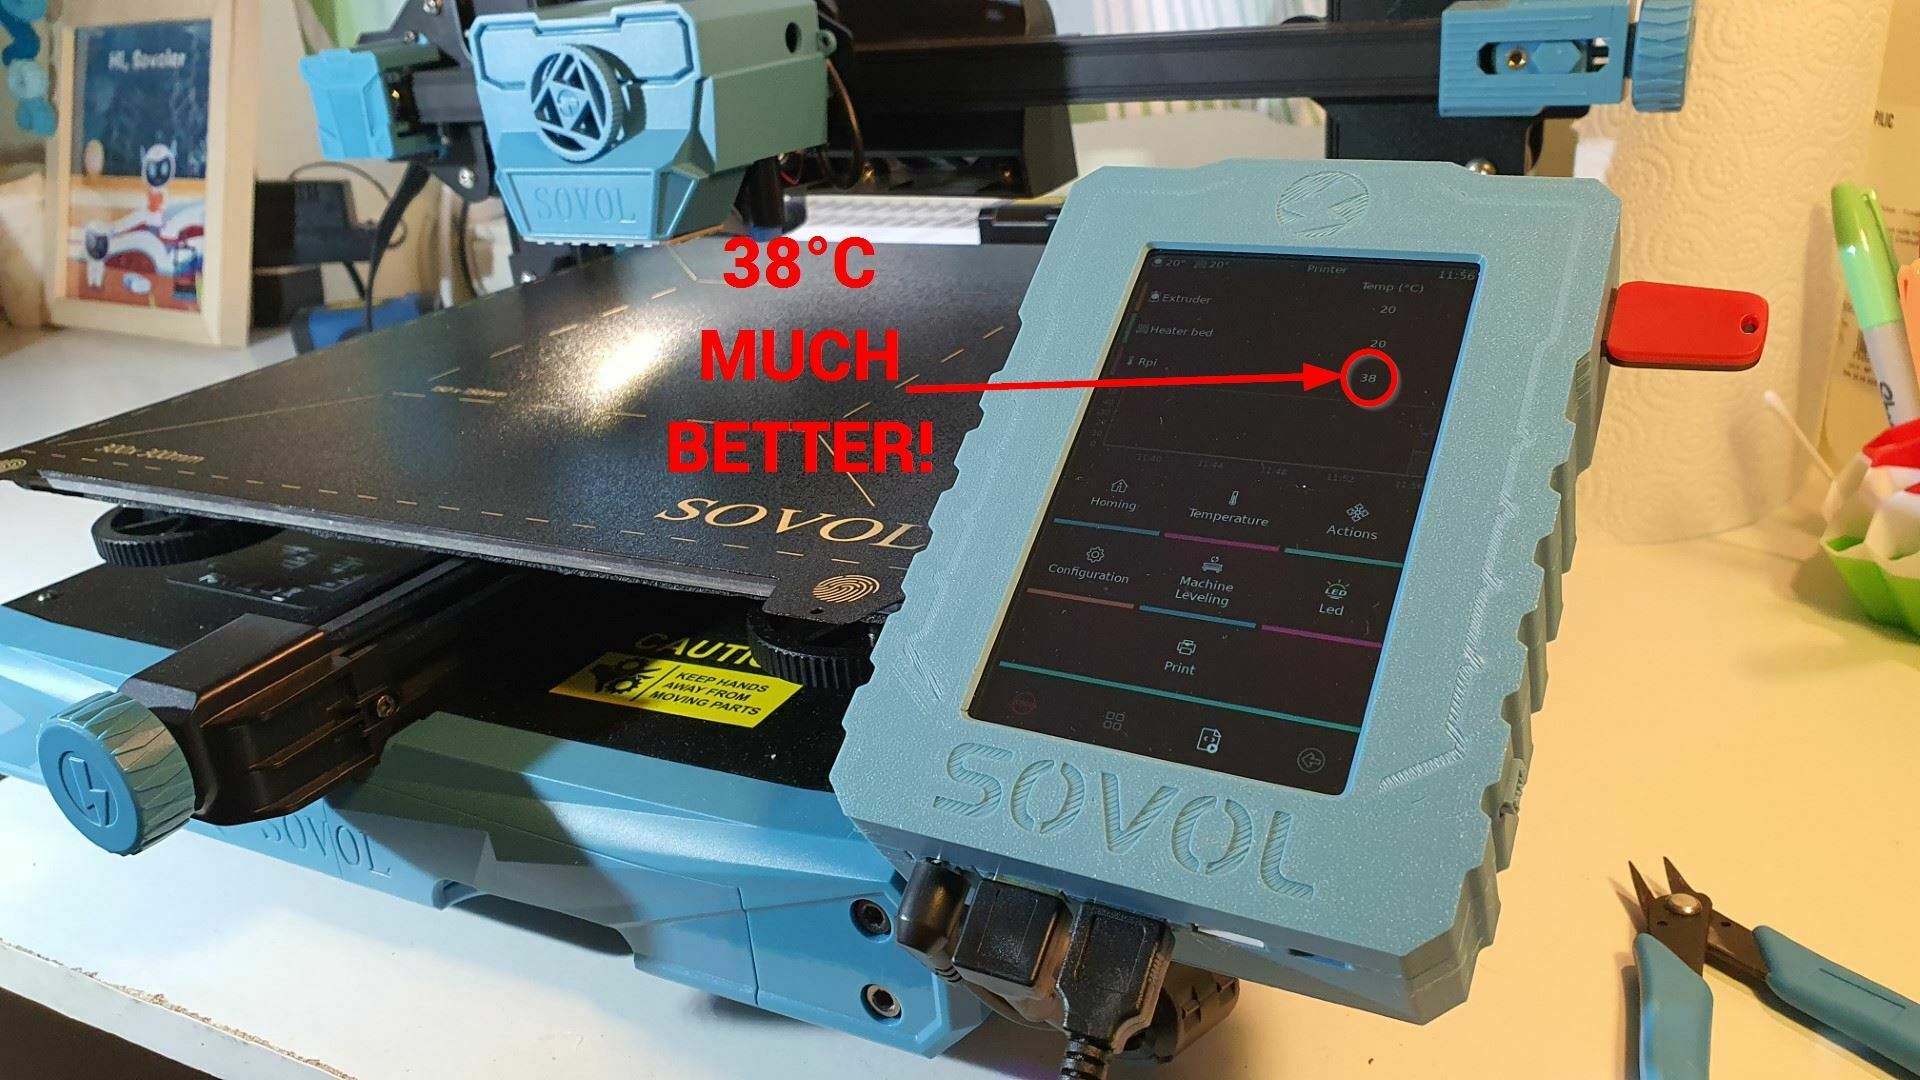
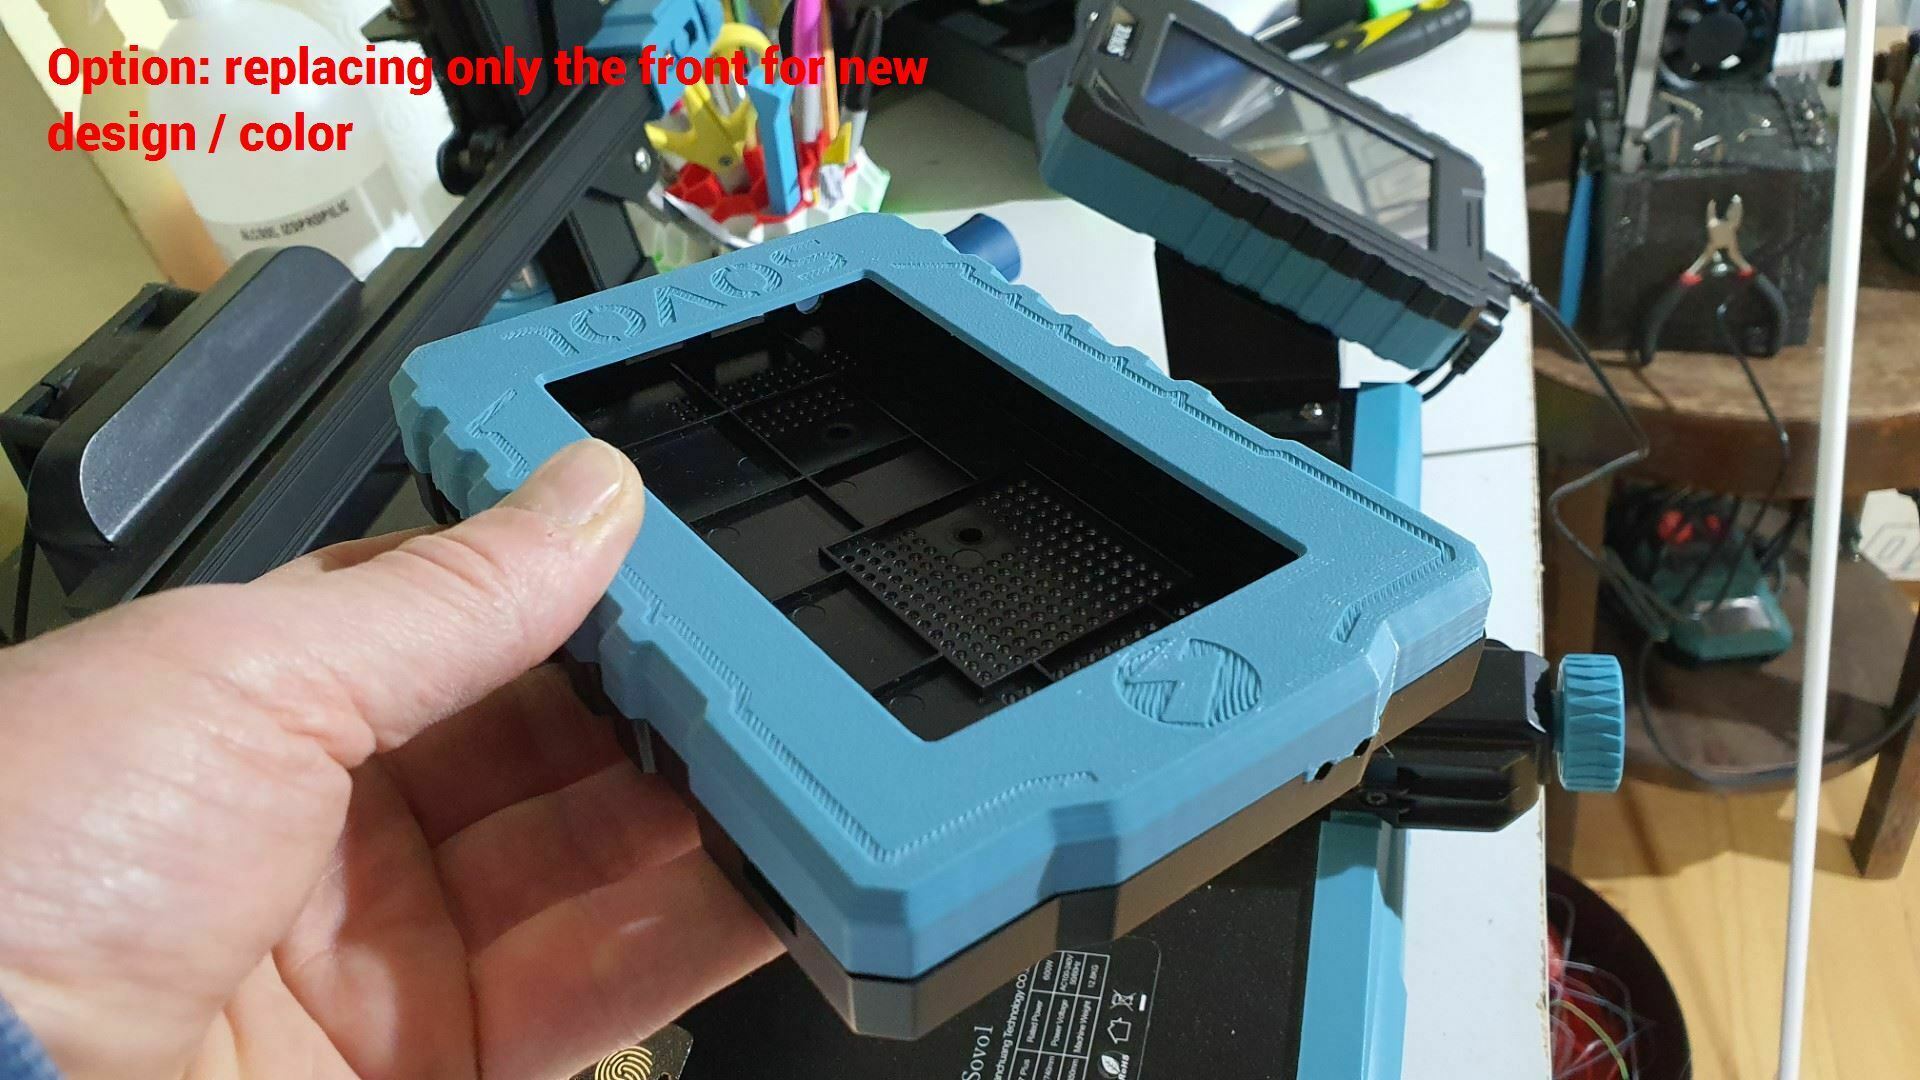
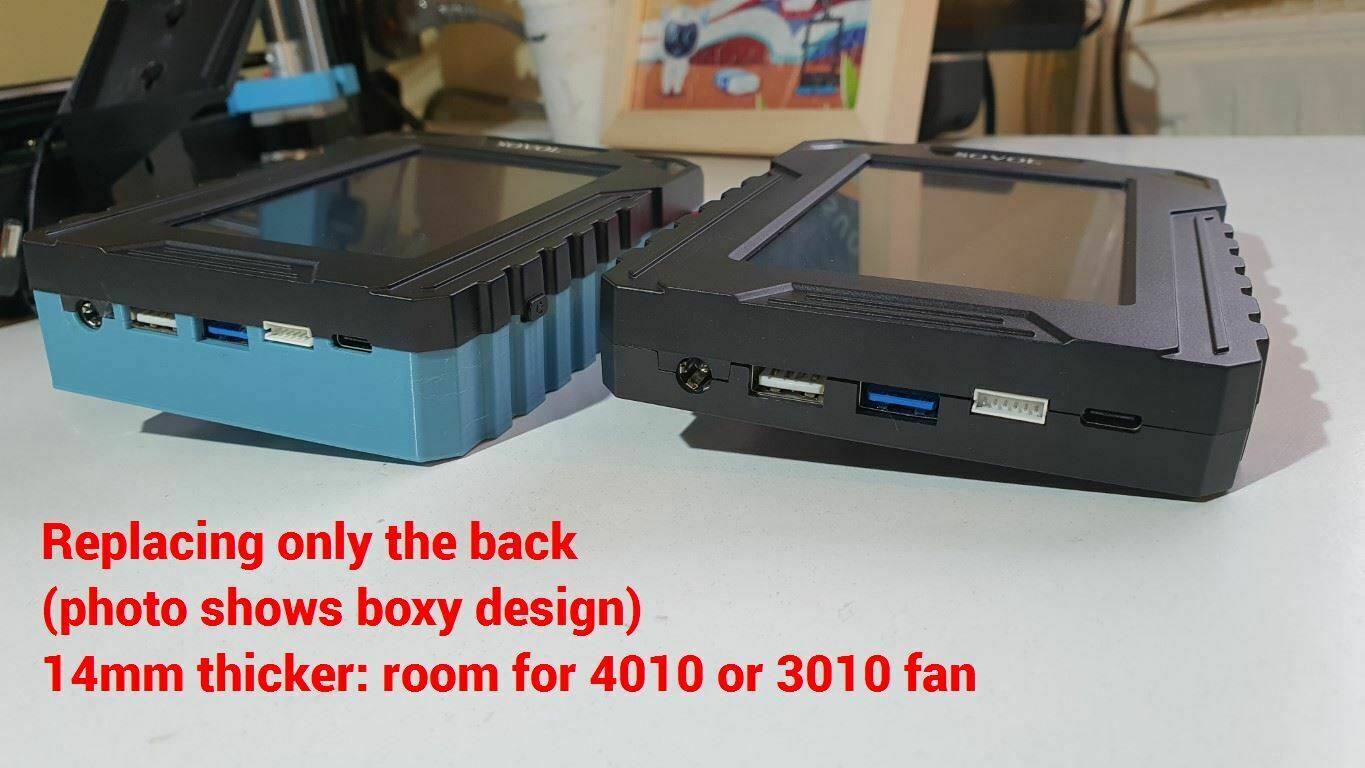
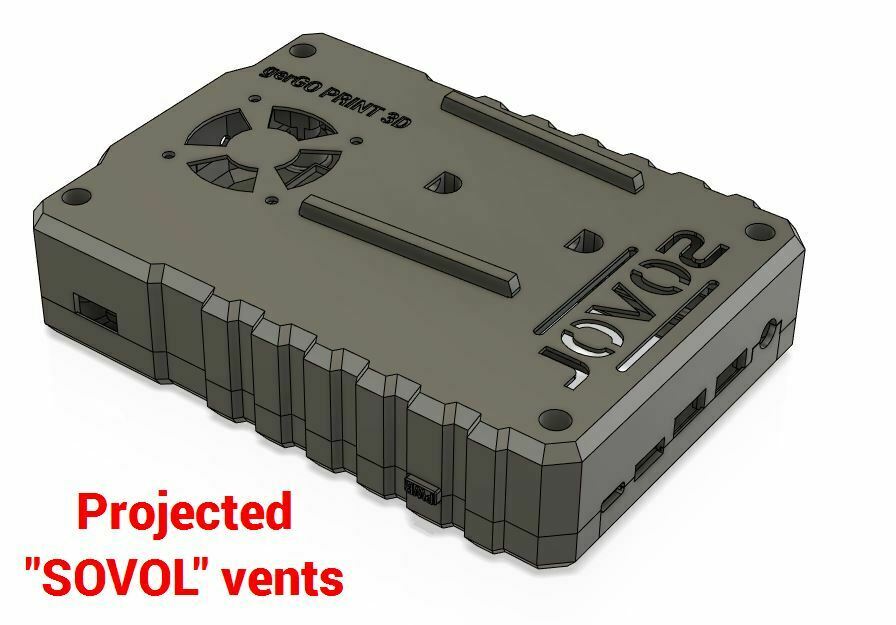
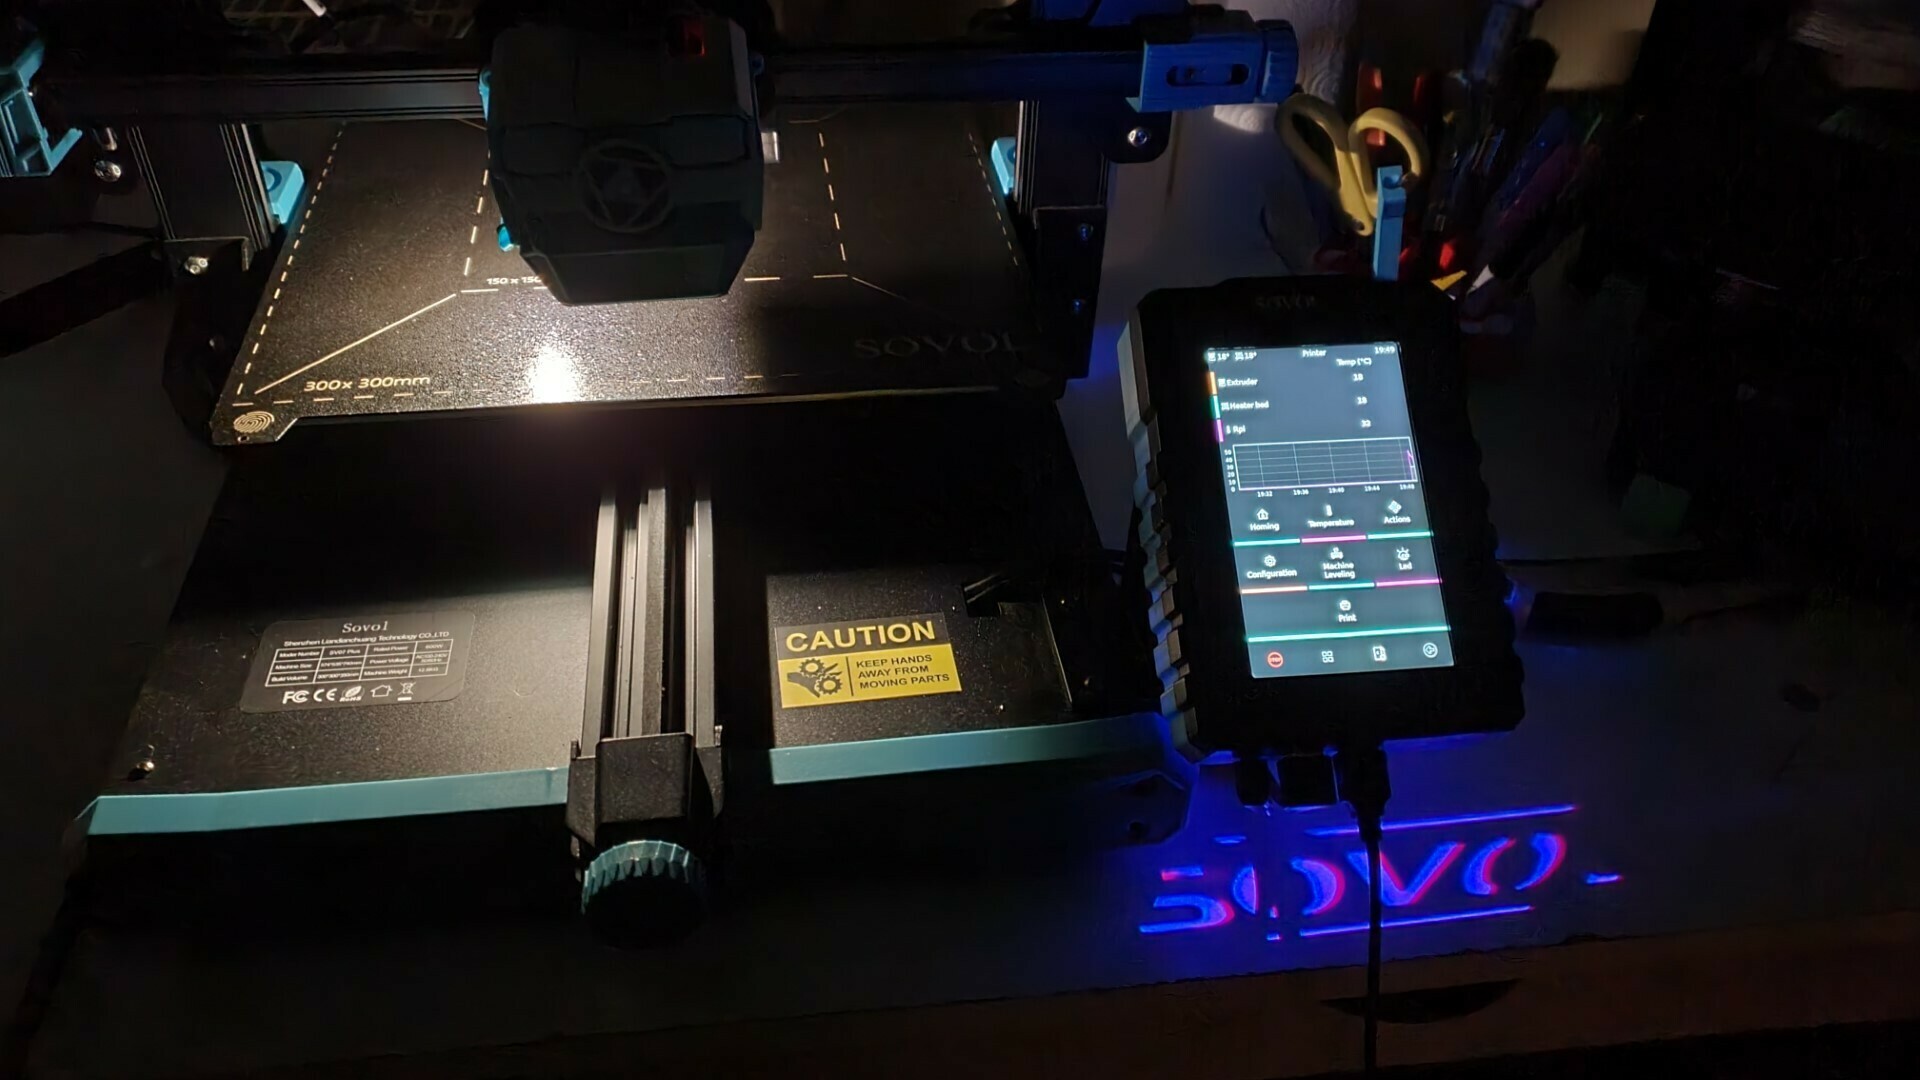
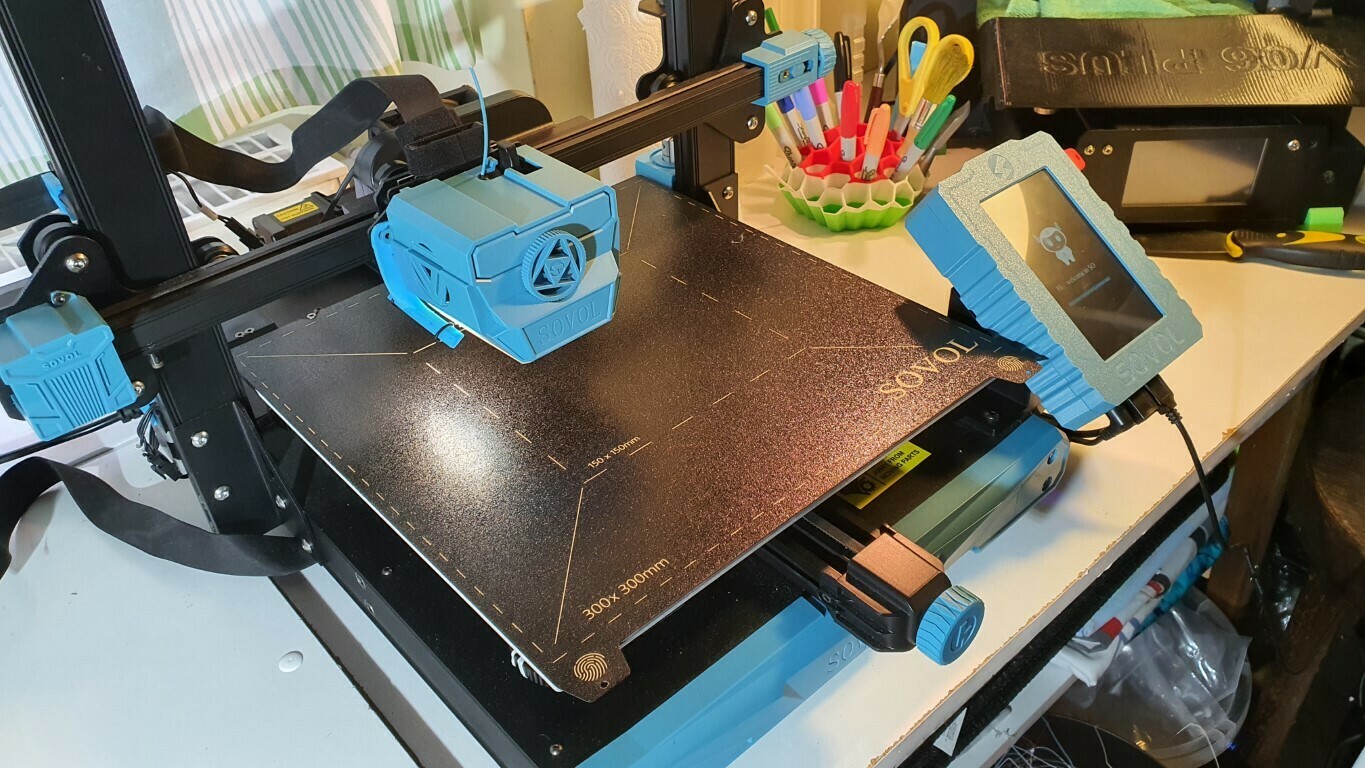
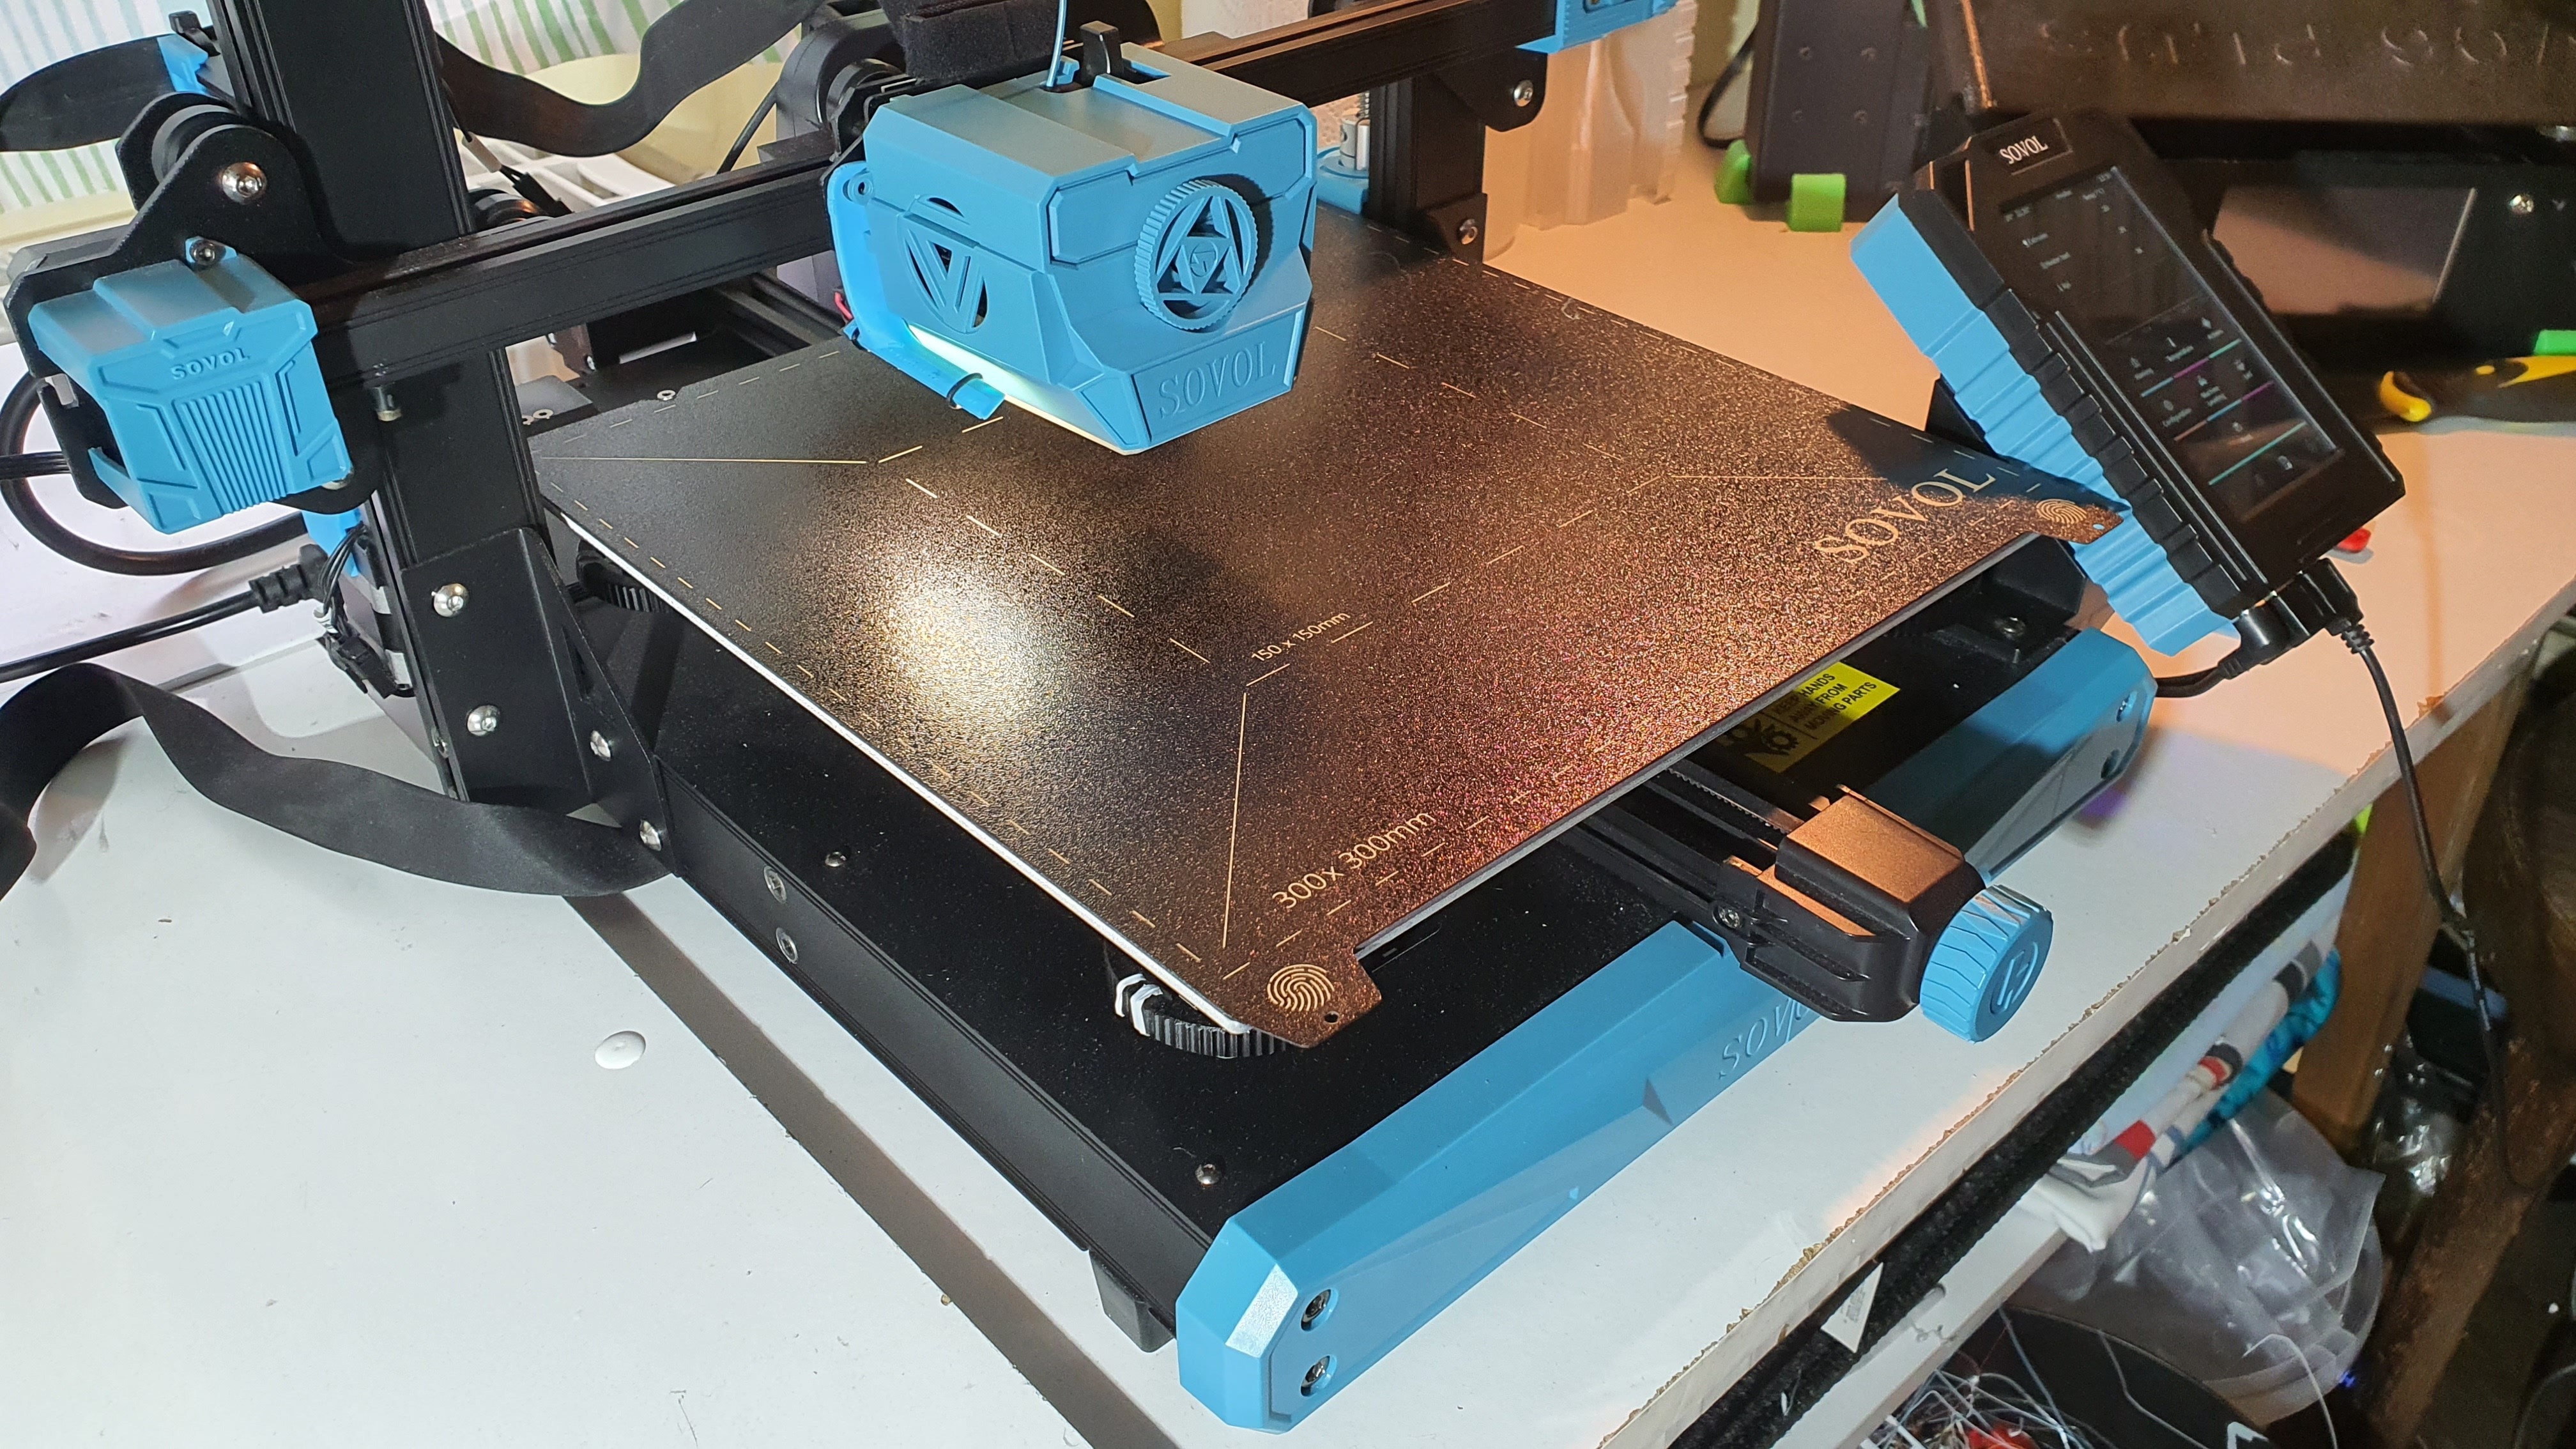
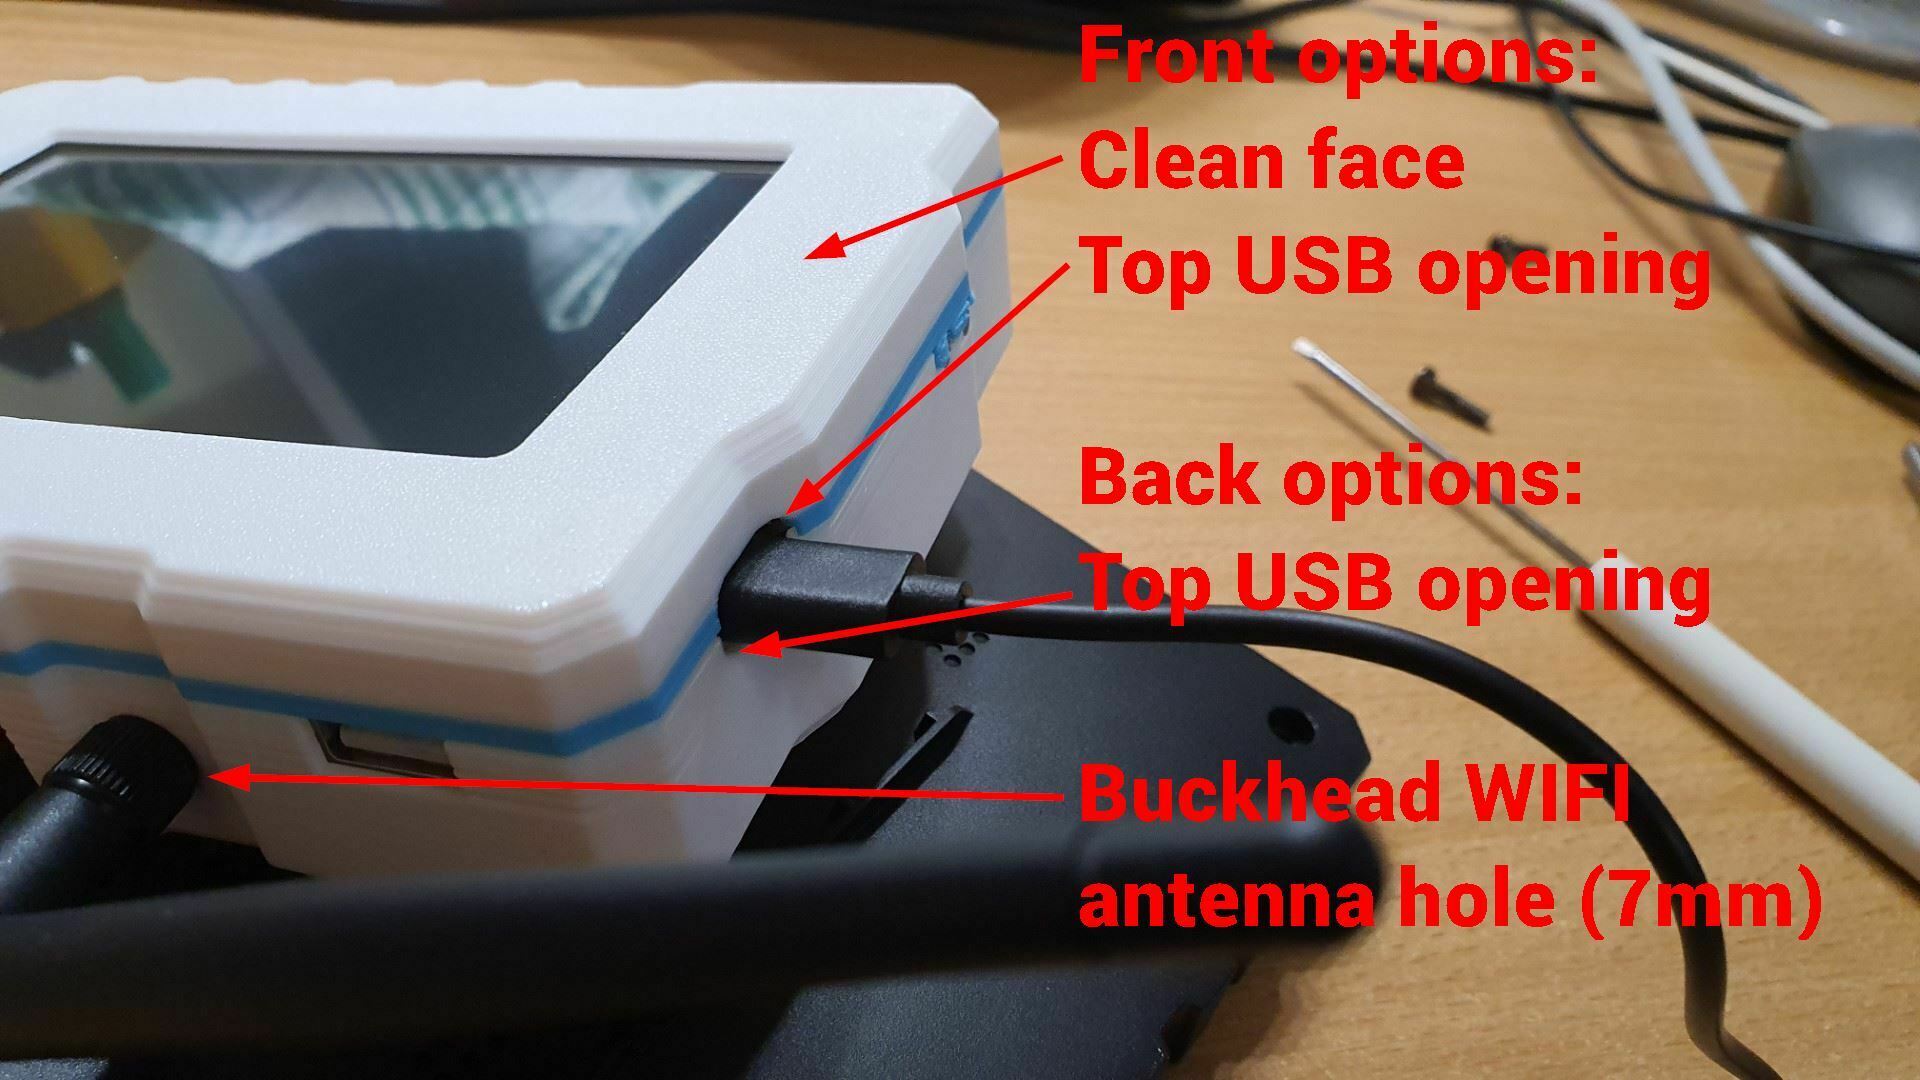
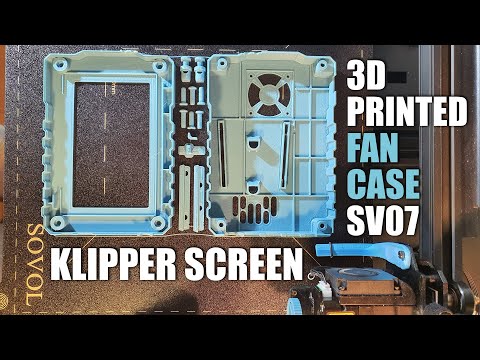
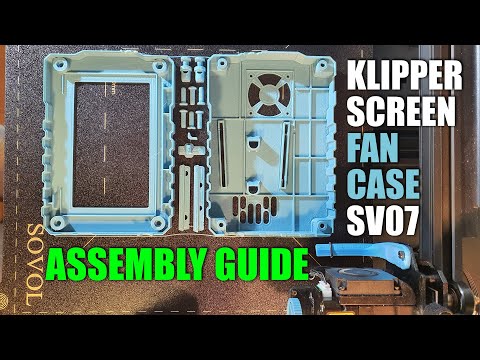
Корпус с вентилятором охлаждения Sovol Klipper Screen SV07, SV07+, SV06, SV06 Plus

Реклама
?
Качество творения: 5,0/5 (2 голоса)
Оценка участников по печатаемости, полезности, уровню детализации, т.д.

  • 1,6k просмотрs
  • 10 мне нравитсяs
  • 57 загрузкаs
  • 5 kомментарийs
  • 3 makes

Licence CULTS - частное использование
Last update 2023-12-03 21:32
Publication date 2023-11-21 20:07
Design number 1593050
3D design format
3MF и STL Детали папки Закрыть
  • 2x knob lock.stl
  • 2x knob.stl
  • 2x locking knob.stl
  • 6x wedge.stl
  • Cura PLA Tapered Hexnut 4010 All Parts.3mf
  • Orca PLA Tapered Hexnut 4010 All Parts.3mf
  • back boxy (fan 40x40x10).stl
  • back tapered (fan 30x30x10).stl
  • back tapered (fan 40x40x10).stl
  • back tapered SOVOL vents (fan 30x30x10).stl
  • back tapered SOVOL vents (fan 40x40x10).stl
  • back tapered SOVOL vents bulkhead WIFI (fan 30x30x10).stl
  • back tapered SOVOL vents bulkhead WIFI (fan 40x40x10).stl
  • back tapered SOVOL vents top USB (fan 30x30x10).stl
  • back tapered SOVOL vents top USB (fan 40x40x10).stl
  • back tapered SOVOL vents top USB bulkhead WIFI (fan 30x30x10).stl
  • back tapered SOVOL vents top USB bulkhead WIFI (fan 40x40x10).stl
  • button insert.stl
  • button.stl
  • front boxy (hexnut M3L2.4).stl
  • front boxy clean (hexnut M3L2.4).stl
  • front tapered (heat set insert M3L4D4.5).stl
  • front tapered (heat set insert M3L4D5).stl
  • front tapered (hexnut M3L2.4) .stl
  • front tapered clean (heat set insert M3L4D4.5).stl
  • front tapered clean (hexnut M3L2.4) .stl
  • front tapered clean top USB (heat set insert M3L4D4.5).stl
  • front tapered clean top USB (hexnut M3L2.4) .stl
  • front tapered top USB (heat set insert M3L4D4.5).stl
  • front tapered top USB (hexnut M3L2.4) .stl
  • rail1.stl
  • rail2.stl

Узнайте больше о форматах

Информация о 3D файле

Описание 3D-модели

Add the following lines in your printer.cfg:

[temperature_sensor Rpi]
sensor_type: temperature_host
min_temp: 5
max_temp: 95

You will see the screen runs at temperatures over 60°C. That's not healthy!

Watch my video about this project: https://youtu.be/RabF5doWNUU

This model includes a new, slightly thicker back, that is 100% compatible with the original, but has space for either a 3010 or 4010 fan inside.

You also get an optional replacement front piece and a power button, if you want to print the whole case from the same material. But it is not strictly necessary, just the back is enough for the fan upgrade.

New versions of the Klipper Screen include a 24V fan connector, which you can use directly, or get 24V off the power supply for older models. How to find out if you have the newer? If you don't want to take it apart: newer Klipper screens have extra vent holes on the back (see comparision photo).

Included in the set:
- back piece variants - see below - print only one!
- slide in knobs for the back - print 2 pcs
- slide in rail1 and rail2 for the back - print one of each
- wedges to secure back slides - print 6 pcs
If printing the front too:
- front piece variants - see below - print only one!
- button
- button insert

Back variants: (11)
- "30x30x10" or "40x40x10" fan
- "boxy" or "tapered"
- regular vents or "'SOVOL vents"
- includes opening for "top USB" (choose matching front!)
- includes opening for "bulkhead WIFI" antenna

All back variants start with the word "back". Select the variant which includes the keywords.

The "Sovol" vents project the word "Sovol" on the desk in front of the screen (see included photo!)

Front variants: (11)
- "boxy" or "tapered"
- superglued "hexnut" (M3L2.4) or "heat-set insert" (M3L4D4.5 or D5)
- "clean" or includes the SOVOL words, logo and motif on the front
- includes opening for "top USB" (choose matching back!)

The "top USB" port provides access to the second USB Type-C connector on the top of the board marked "DOWNLOAD". I am not sure what function it has. It's seated deeper in the case, so we need a slightly larger opening for the plug. Do not select these variants unless you have a use for this port, otherwise it is just another opening on the top of your Klipper Screen case.


What you need

  • 24V cooling fan 4010 or 3010

If printing the front too:

  • M3xL4xOD4.5 heat-set-inserts or 4× M3 nuts

Important: Fan has to be 24V 4010 (40x40x10) or 3010 (30x10x10), make sure to install it so the air is sucked out of the case!! The bottom grills provide the intake so there is a good airflow over the heatsink of the CPU.

The model uses the four hex socket M3/12 screws as the original screen. Use either 4× M3 nuts super-glued into the corners of the front piece, or 4× M3xL4xOD4.5 heat-set-inserts. Print the right variant!

Assembly instructions

Refer to photos step 0→10. If you like videos better: 8 minute silent youtube video or watch my longer video about the design and narrated assembly

Step 0. print parts, see 3D printing settings below

Step 1. insert the two rails into back piece: they and their slots are marked with 1 and 2 little notches, I designed it so the 2x2 wedges will fit only if they are oriented correctly.

Step 2. screw in the fan (using plate screws from the inside?). Two corners are probably enough to hold. (you might need to power on the screen with the fan plugged in to test the fan orientation). It's best if the wire goes to the side away from the USB port (as shown in the photo above)

Step 3. plug in the two knobs (from the bottom) and secure them with the remaining two wedges. The wedges should point towards the bottom of the screen

If printing the front too:

Step 4. assemble the button: attach the L shaped "button-insert" into the button, oriented as shown in the drawing (step 4). It is a tight fit, you might need to carve a bit from the insert to fit. Adjust the insert to get the perfect distance from the switch.

Step 5. glue in the hexnuts or use the heat-set inserts (see above)

Step 6. Carefully peel off the antenna from the side of the original back (you can heat it gently with a hair dryer if it is sticking too much). You can see in my video I actually did not stick it to the new bakc, just put a piece of label backing paper on it to preserve its stickiness.

Step 7. place the board into the front of the case with the screen facing down. Align the screw holes

Step 8. add the power button (shorter wing down). It should line up with the switch on the board

Step 9. plug in the fan

Step 10. secure the back of the case with the 4 screws. You might need to apply a little force for the sides to line up and snap together

Step 11. slide the screen on the mounting bracket on the side of the printer (bracket not inlcuded in this model)

I show you all of these steps in this 8 minute silent youtube video or watch my longer video about the design and narrated assembly

PS: if you installed it, make sure to try with the lights turned off in the room. There is an internal light that projects a fun pattern on the desk in front of the Klipper screen through the newly designed vent holes :)

UPDATES

UPDATE 1: fixed all watertightness issues
UPDATE 2: added a clean box front variant without any text, logo or pattern
UPDATE 3: Updated the "SOVOL vent" back variants where the "L" is now projected correctly. Updated the heat-set insert front variants to have a little chamfer to help you center the inserts (D4.5).

I have added multiple back variants with openings for the second USB Type-C socket on the top, and a 7mm hole on the side for bulk-head Wifi antenna.

I have also added "clean" front variants without any texture (no logo, text or motif).

Choose the "top USB" variants of both top and bottom for the secondary Type-C port to be accessible.

This image hightlights the new options

I hope I haven't overcomplicated things, there are 11 back and 11 front variants now, you can easily choose the one you need by checking the keywords in the file names. Please let me know if you have a better idea, or missing any variation.

UPDATE 4: Locking knob option - if you hate that the screen slides out of the bracket too easily. Print a pair of "knob locks" and "locking knobs" (instead of the regular knobs). After sliding in the screen you will be able to plug the holes with the knob locks. Turn them to lock them in place. See animated image

Thank you for all your support!

Настройки 3D-печати

Все детали ориентированы так, как вы можете их напечатать. Никаких ободков и подставок не нужно!

Рекомендуемое расположение пластин для сборки показано на прилагаемом скриншоте.

Он хорошо печатает из PLA, а при использовании вентилятора работает при температуре значительно ниже температуры стеклования PLA. Если вы не планируете использовать вентилятор, рекомендуется использовать хотя бы PETG!

Вот мои настройки Cura:

  • Высота слоя 0,2 (включая первый слой), ширина линии 0,44

  • Стенки: 4! (1,6 мм) для прочности, упорядочивание стен снаружи внутрь для точности. Выравнивание по шву Z острый угол, предпочтение углам: скрыть

  • Верх/низ по вашему желанию (мне нравится включать 1 верхний слой поверхности с линиями и 90°, но это внутри, так что не должно иметь значения). Важно: в новой прошивке мне пришлось установить перекрытие кожи на 40%. Если у вас не менее 8 верхних+нижних слоев (например, 4/4 или 5/3), то на задней/передней стороне не будет или будет минимальное заполнение. Прочность задней части обеспечивается за счет внутренней рамы.

  • Наполнитель не важен, его почти не используют, прочность обеспечивается многими стенами. Я установил заполнение на 10% гироида.

  • Скорость идеальна на 180 для точности, за исключением первого слоя, который установлен на 70. Если вы будете слишком быстры, все может не сойтись.

  • Охлаждение: максимальное (фаска переднего выреза экрана имеет относительно большой выступ)

  • Не нужно никаких ободков, никаких опор! Вы можете добавить юбку.

  • Маленькие детали лучше охладить, пока остальные печатаются.

  • Нет мостов и только несколько выступов, все под углом менее 45° (в слайсере Orca/Prusia включите опцию "Сделать выступы пригодными для печати", чтобы избежать предупреждений о консолях)

При этих настройках время печати 3 часа, 88 г филамента для всего корпуса. 2 часа 58 г, если печатать только заднюю часть.

Реклама


Страница переведена при помощи машинного перевода. Ознакомиться с исходным текстом
Проблема с работой? Сообщить о проблеме.

Реклама

Вы хотите поддержать Cults?

Вам нравятся Cults и вы хотите помочь нам продолжить наш путь самостоятельно? Обратите внимание, что мы — маленькая команда из 3 человек, поэтому поддержать нас в поддержании деятельности и создании будущих разработок очень просто. Вот 4 решения, доступные для всех:

  • РЕКЛАМА: Отключайте блокировщик баннеров AdBlock и кликайте на наши рекламные баннеры.

  • АФФИЛИАЦИЯ: Совершайте покупки онлайн, переходя по нашим партнерским ссылкам здесь Amazon.

  • ДОНАТЫ: Если хотите, то можно сделать пожертвование через Ko-Fi здесь 💜.

  • ПРИГЛАШЕНИЕ ДРУЗЕЙ: Приглашайте своих друзей, откройте для себя платформу и великолепные 3D-файлы, которыми делится сообщество!

Реклама
100%-но безопасная оплата с помощью PayPal или кредитной карты.