Zum Inhalt gehen

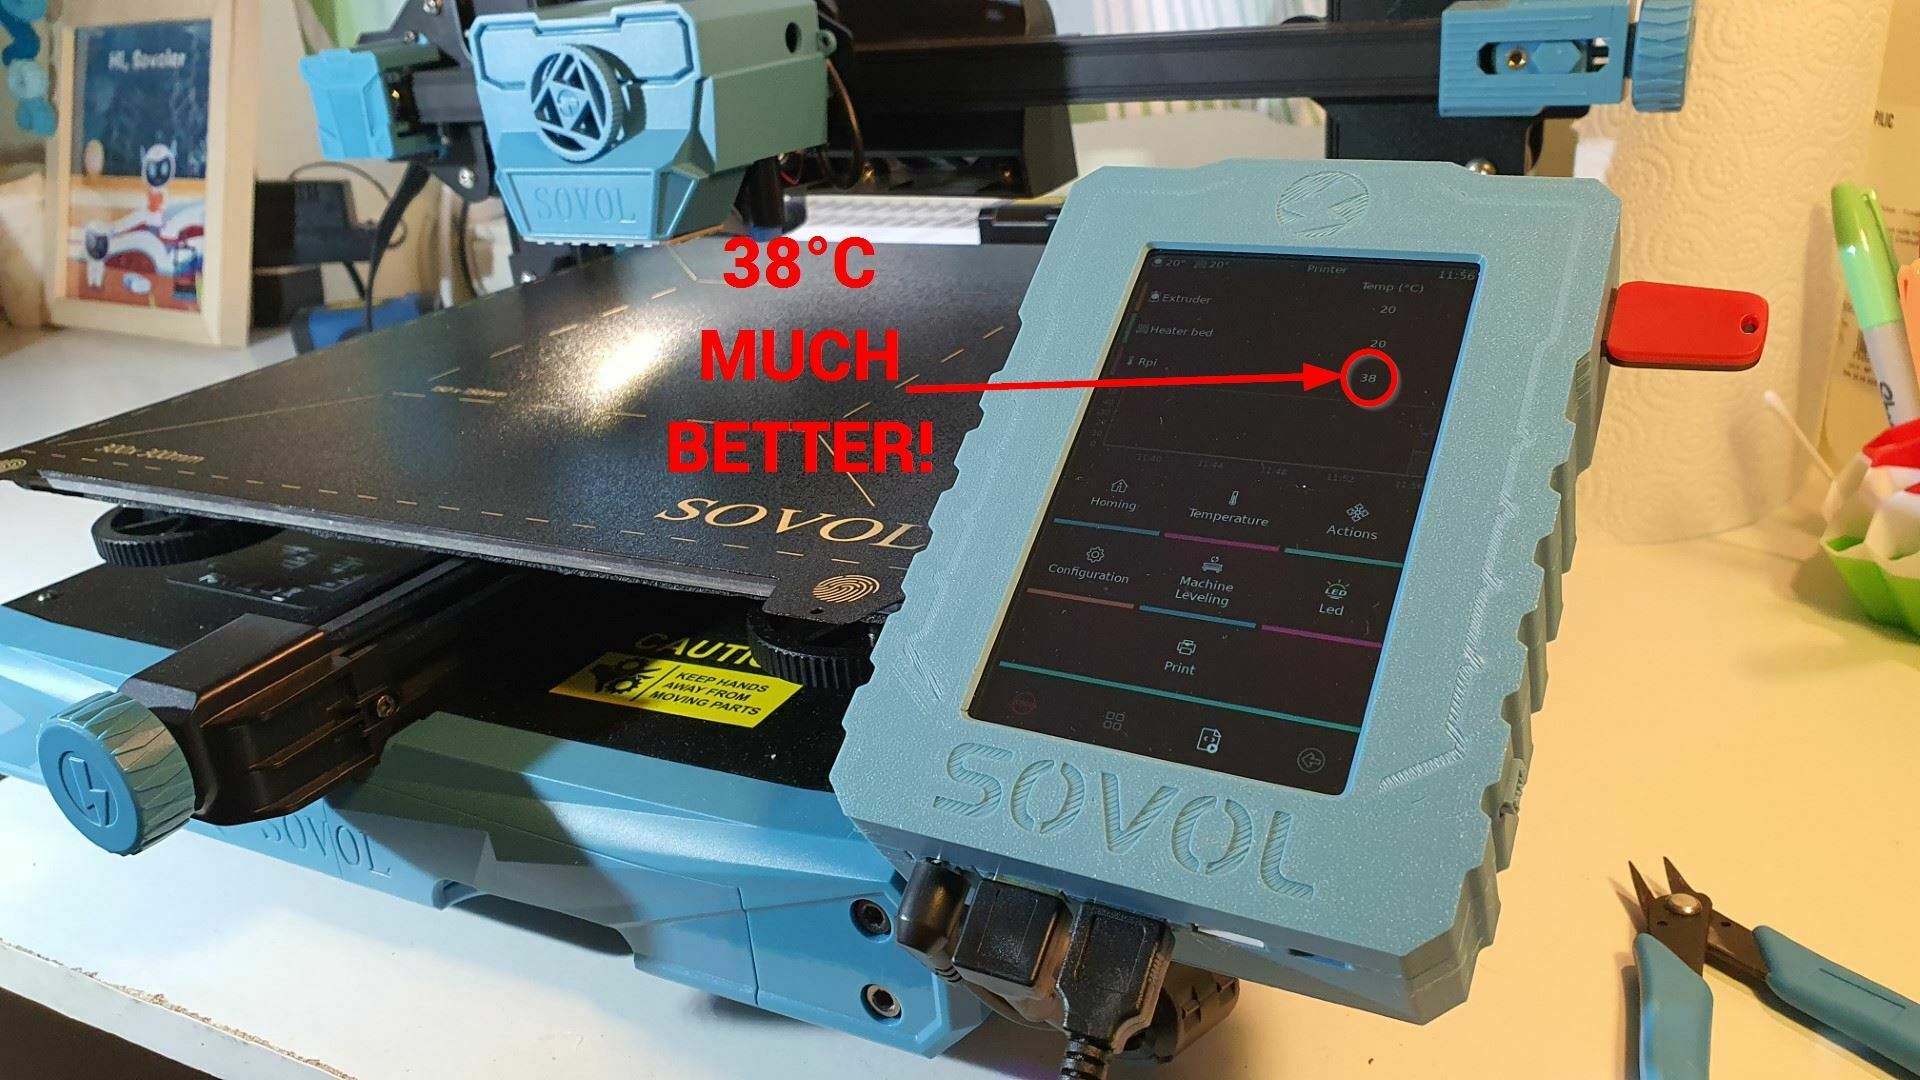
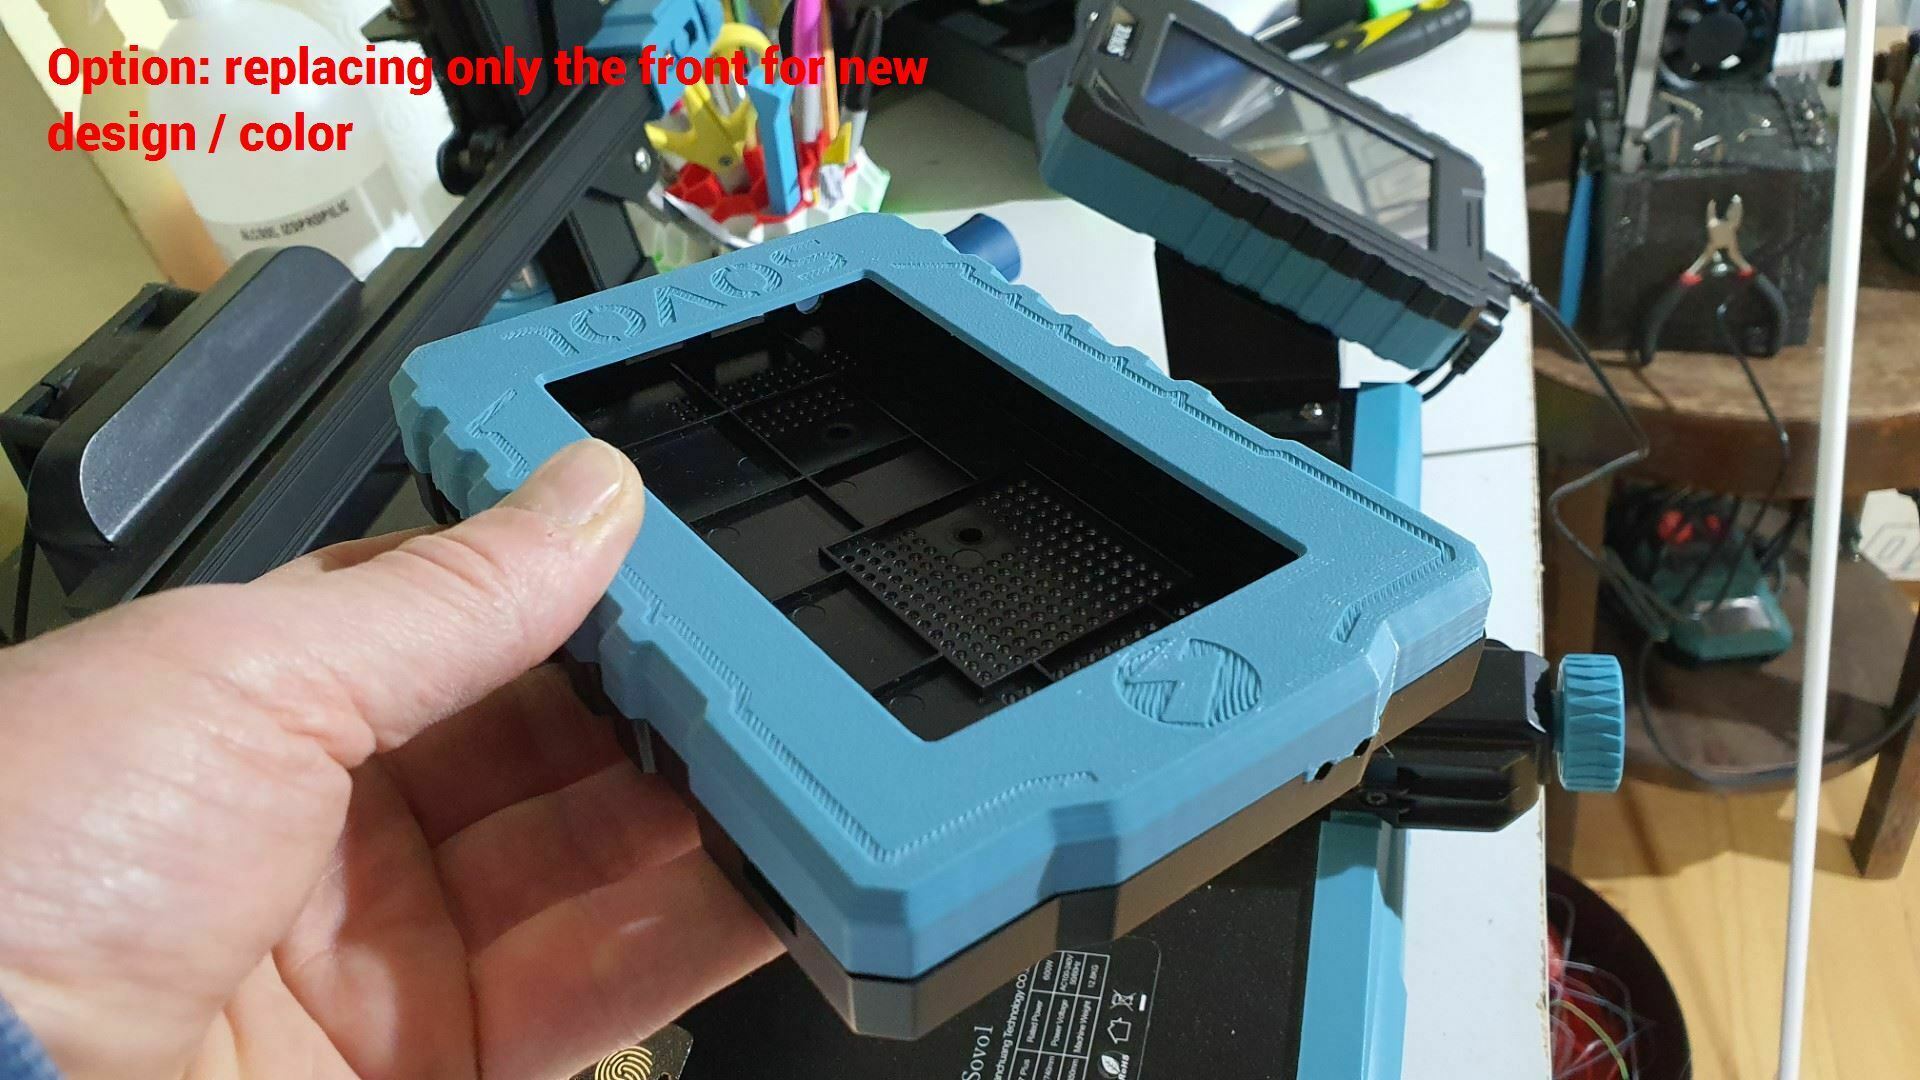
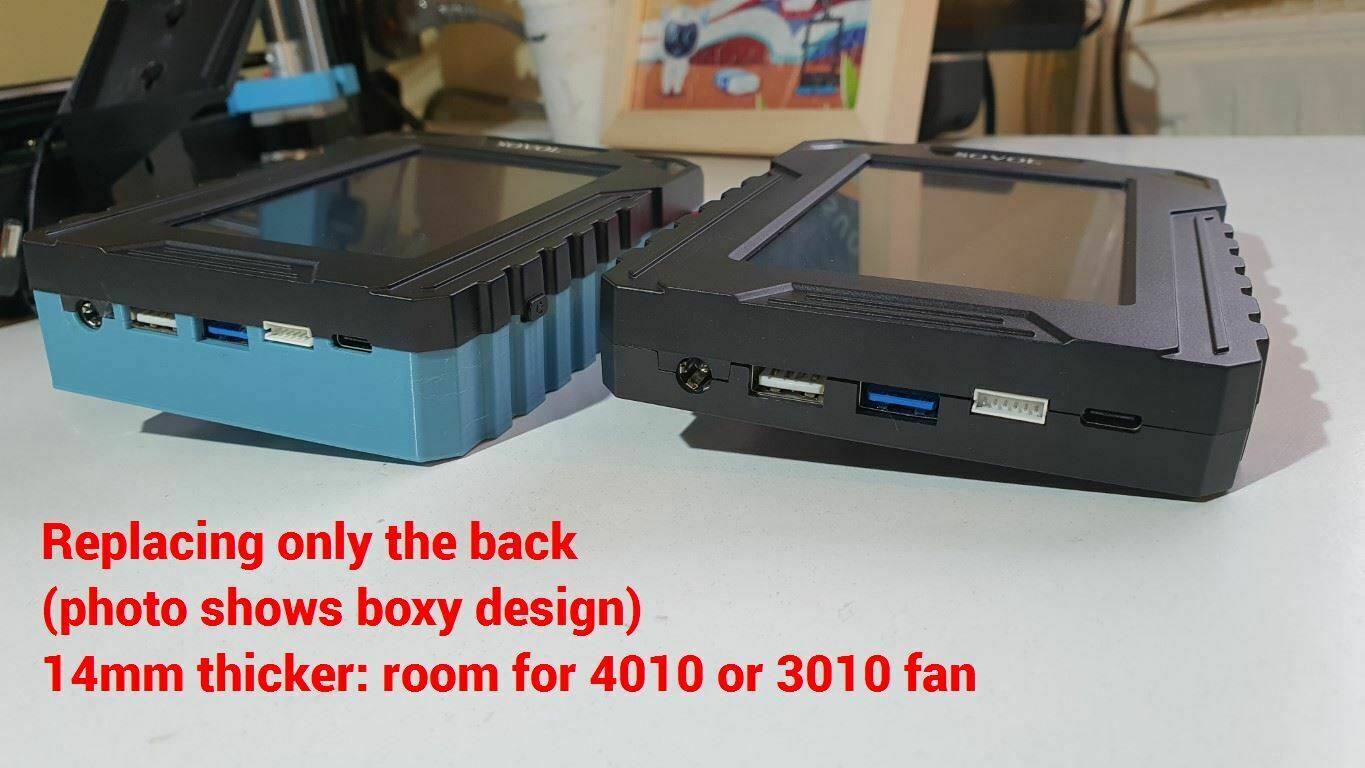
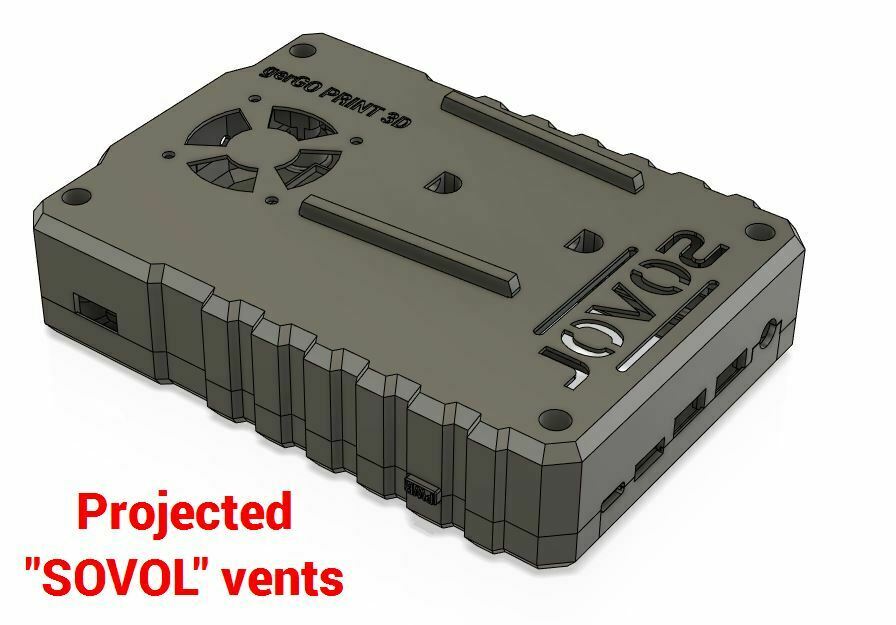
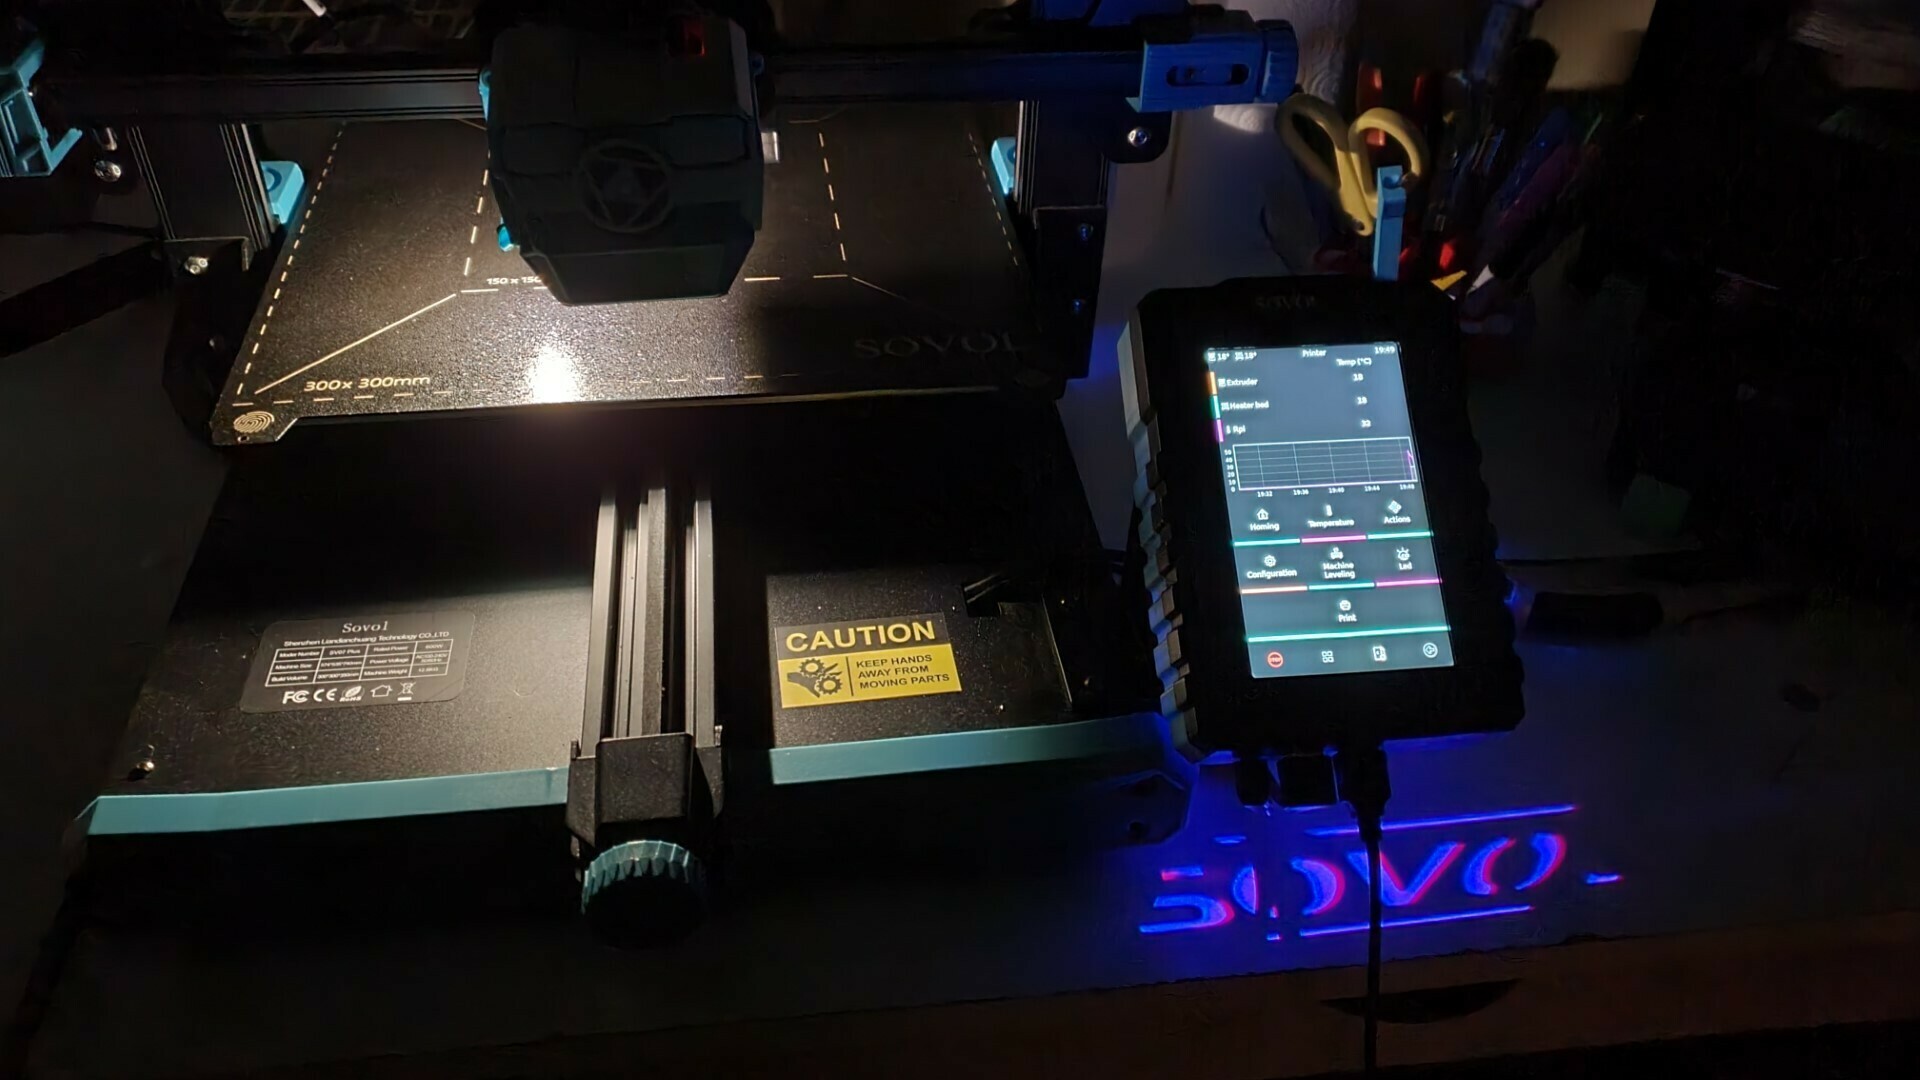
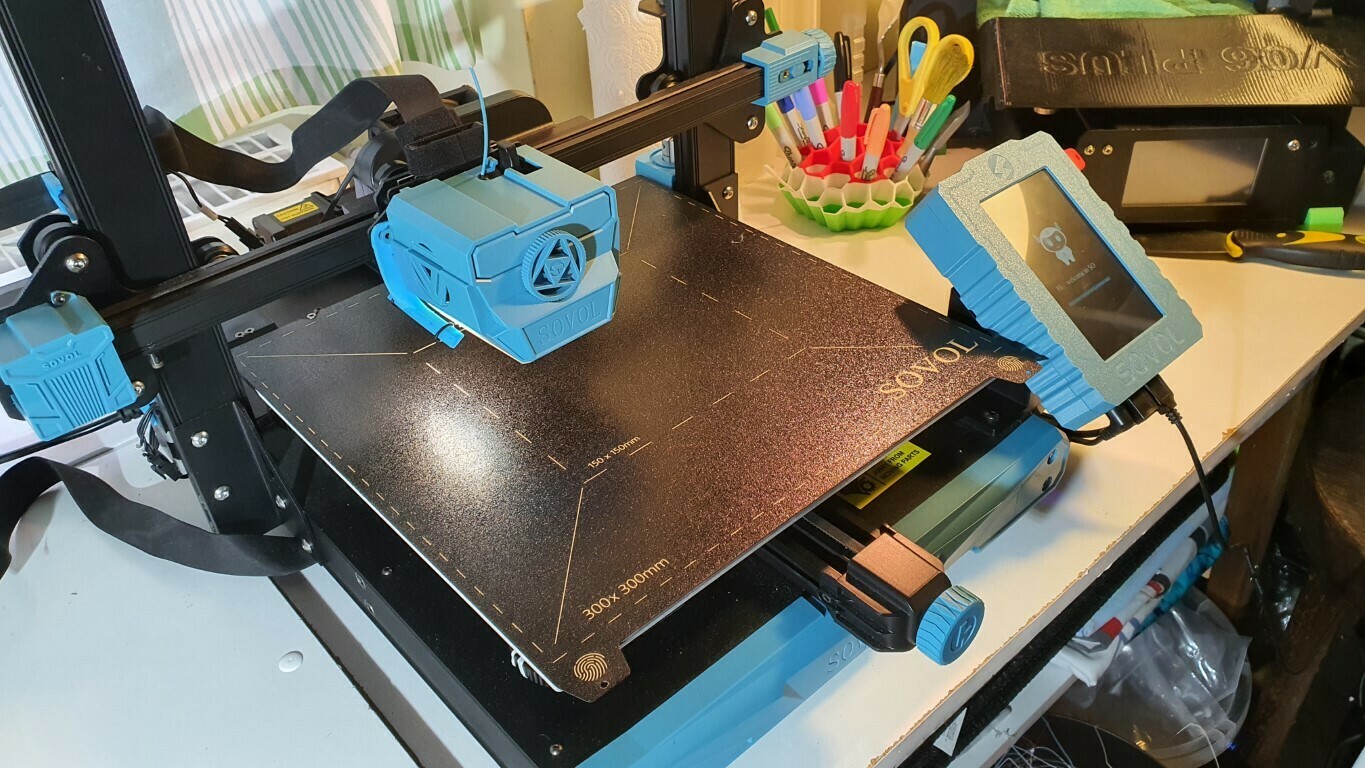
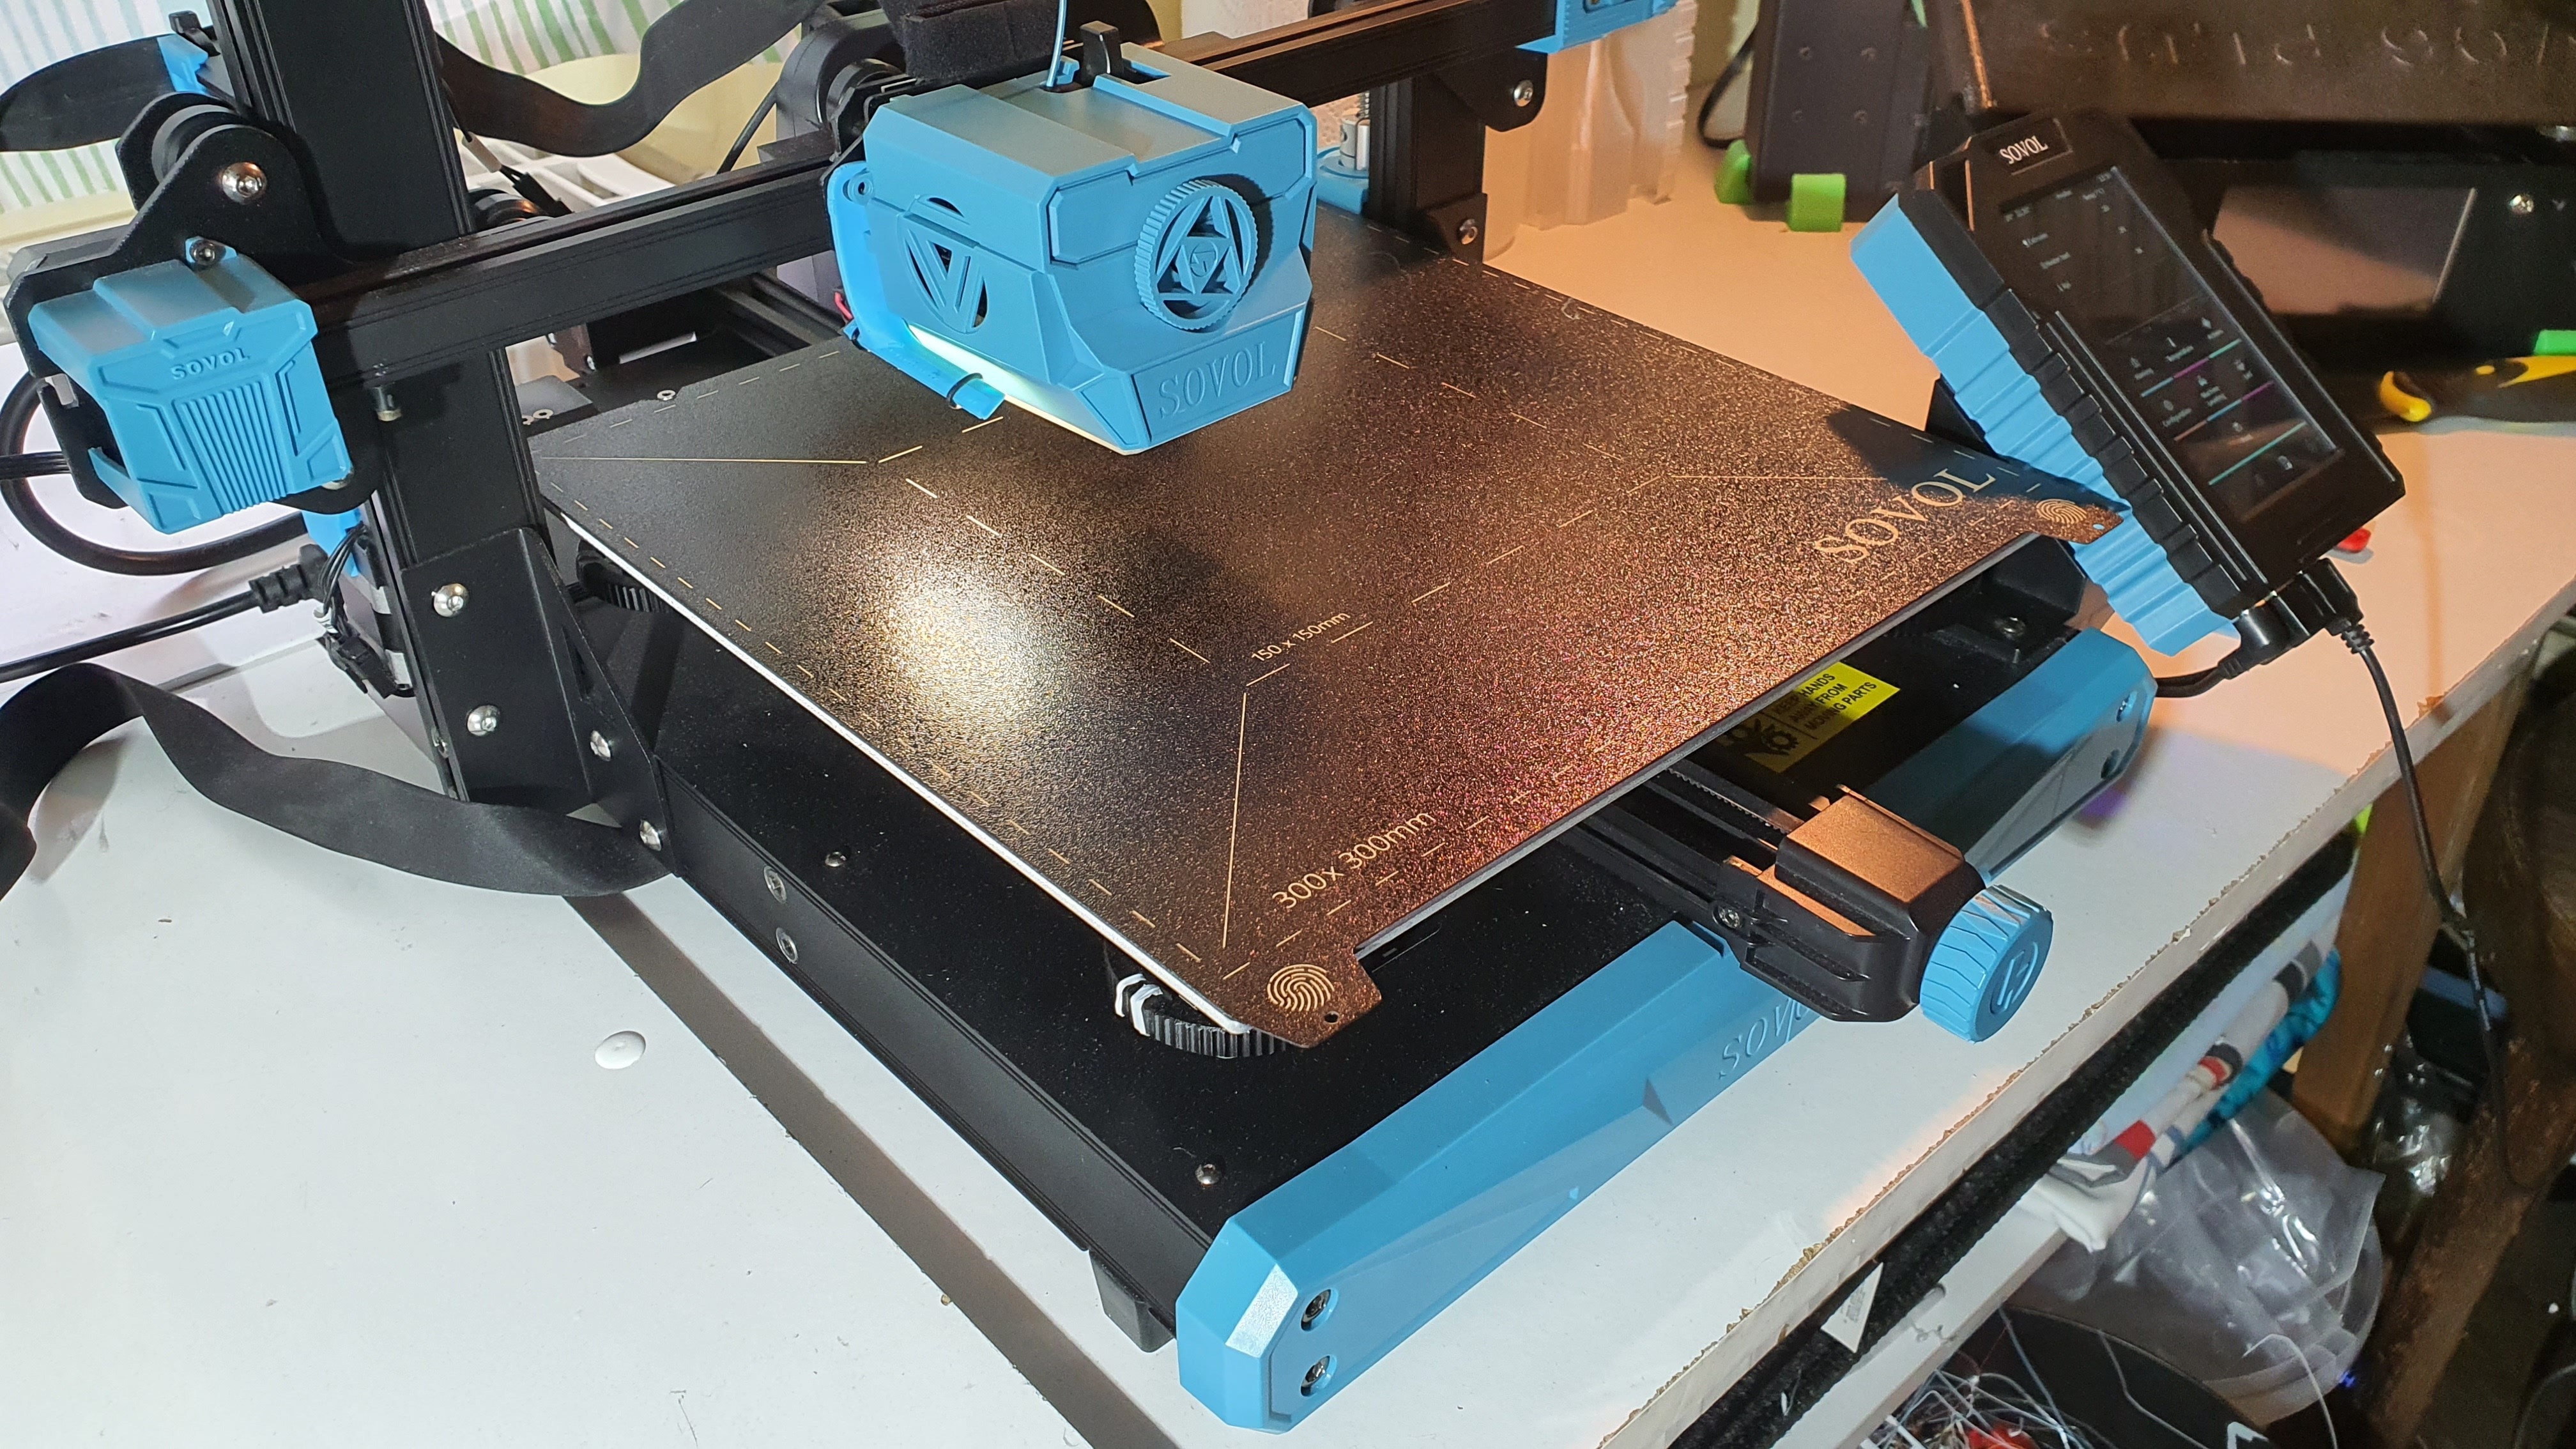
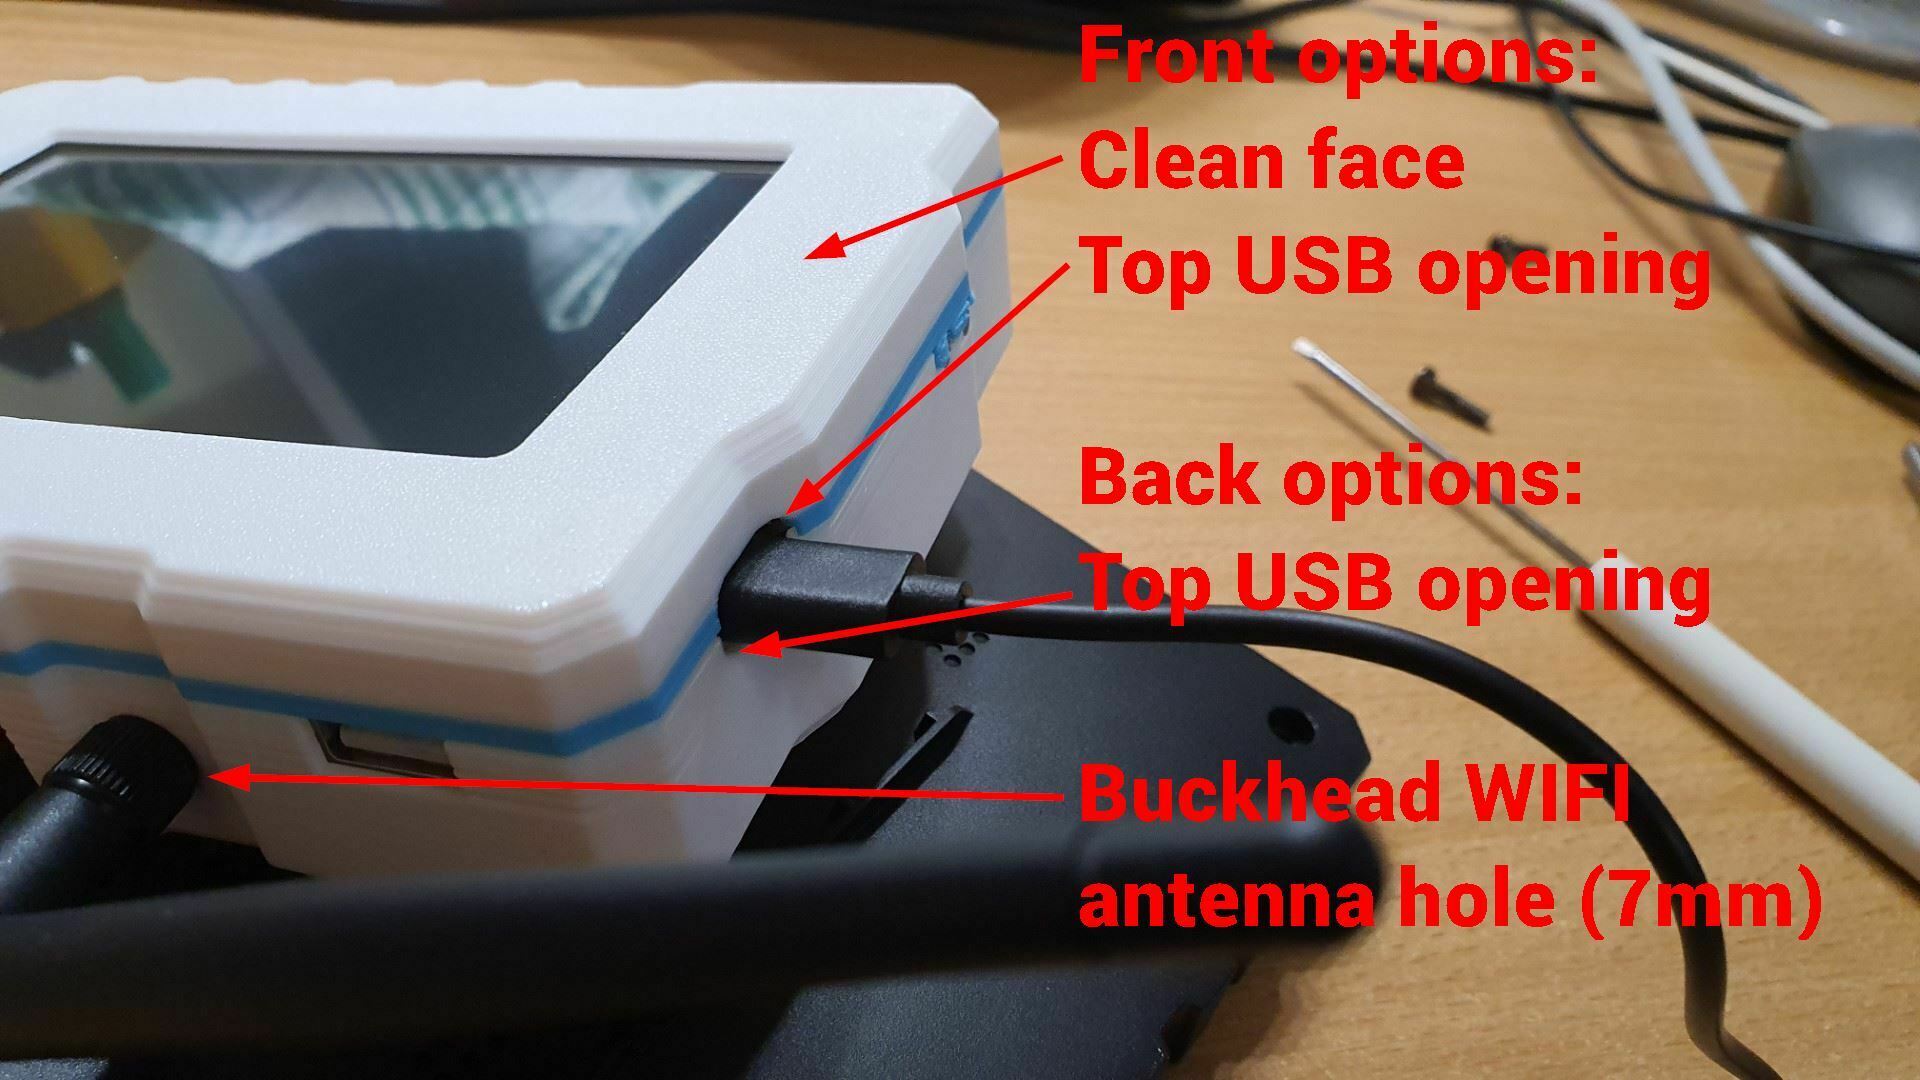
Sovol Klipper Bildschirmlüfter Gehäuse SV07, SV07+, SV06, SV06 Plus

?
Qualität der Kreation: 5,0/5 (2 Stimmen)
Bewertung von Mitgliedern zu Druckbarkeit, Nützlichkeit, Detailgrad usw.

  • 1,6k Aufrufs
  • 10 Likes
  • 57 herunterladens
  • 5 kommentars
  • 3 makes

Licence CULTS - Privater Gebrauch
Last update 2023-12-03 21:32
Publication date 2023-11-21 20:07
Design number 1593050
3D design format
3MF und STL Datei-Details Schließen
  • 2x knob lock.stl
  • 2x knob.stl
  • 2x locking knob.stl
  • 6x wedge.stl
  • Cura PLA Tapered Hexnut 4010 All Parts.3mf
  • Orca PLA Tapered Hexnut 4010 All Parts.3mf
  • back boxy (fan 40x40x10).stl
  • back tapered (fan 30x30x10).stl
  • back tapered (fan 40x40x10).stl
  • back tapered SOVOL vents (fan 30x30x10).stl
  • back tapered SOVOL vents (fan 40x40x10).stl
  • back tapered SOVOL vents bulkhead WIFI (fan 30x30x10).stl
  • back tapered SOVOL vents bulkhead WIFI (fan 40x40x10).stl
  • back tapered SOVOL vents top USB (fan 30x30x10).stl
  • back tapered SOVOL vents top USB (fan 40x40x10).stl
  • back tapered SOVOL vents top USB bulkhead WIFI (fan 30x30x10).stl
  • back tapered SOVOL vents top USB bulkhead WIFI (fan 40x40x10).stl
  • button insert.stl
  • button.stl
  • front boxy (hexnut M3L2.4).stl
  • front boxy clean (hexnut M3L2.4).stl
  • front tapered (heat set insert M3L4D4.5).stl
  • front tapered (heat set insert M3L4D5).stl
  • front tapered (hexnut M3L2.4) .stl
  • front tapered clean (heat set insert M3L4D4.5).stl
  • front tapered clean (hexnut M3L2.4) .stl
  • front tapered clean top USB (heat set insert M3L4D4.5).stl
  • front tapered clean top USB (hexnut M3L2.4) .stl
  • front tapered top USB (heat set insert M3L4D4.5).stl
  • front tapered top USB (hexnut M3L2.4) .stl
  • rail1.stl
  • rail2.stl

Mehr zu den Formaten

3D-Druckerdatei info

Beschreibung des 3D-Modells

Add the following lines in your printer.cfg:

[temperature_sensor Rpi]
sensor_type: temperature_host
min_temp: 5
max_temp: 95

You will see the screen runs at temperatures over 60°C. That's not healthy!

Watch my video about this project: https://youtu.be/RabF5doWNUU

This model includes a new, slightly thicker back, that is 100% compatible with the original, but has space for either a 3010 or 4010 fan inside.

You also get an optional replacement front piece and a power button, if you want to print the whole case from the same material. But it is not strictly necessary, just the back is enough for the fan upgrade.

New versions of the Klipper Screen include a 24V fan connector, which you can use directly, or get 24V off the power supply for older models. How to find out if you have the newer? If you don't want to take it apart: newer Klipper screens have extra vent holes on the back (see comparision photo).

Included in the set:
- back piece variants - see below - print only one!
- slide in knobs for the back - print 2 pcs
- slide in rail1 and rail2 for the back - print one of each
- wedges to secure back slides - print 6 pcs
If printing the front too:
- front piece variants - see below - print only one!
- button
- button insert

Back variants: (11)
- "30x30x10" or "40x40x10" fan
- "boxy" or "tapered"
- regular vents or "'SOVOL vents"
- includes opening for "top USB" (choose matching front!)
- includes opening for "bulkhead WIFI" antenna

All back variants start with the word "back". Select the variant which includes the keywords.

The "Sovol" vents project the word "Sovol" on the desk in front of the screen (see included photo!)

Front variants: (11)
- "boxy" or "tapered"
- superglued "hexnut" (M3L2.4) or "heat-set insert" (M3L4D4.5 or D5)
- "clean" or includes the SOVOL words, logo and motif on the front
- includes opening for "top USB" (choose matching back!)

The "top USB" port provides access to the second USB Type-C connector on the top of the board marked "DOWNLOAD". I am not sure what function it has. It's seated deeper in the case, so we need a slightly larger opening for the plug. Do not select these variants unless you have a use for this port, otherwise it is just another opening on the top of your Klipper Screen case.


What you need

  • 24V cooling fan 4010 or 3010

If printing the front too:

  • M3xL4xOD4.5 heat-set-inserts or 4× M3 nuts

Important: Fan has to be 24V 4010 (40x40x10) or 3010 (30x10x10), make sure to install it so the air is sucked out of the case!! The bottom grills provide the intake so there is a good airflow over the heatsink of the CPU.

The model uses the four hex socket M3/12 screws as the original screen. Use either 4× M3 nuts super-glued into the corners of the front piece, or 4× M3xL4xOD4.5 heat-set-inserts. Print the right variant!

Assembly instructions

Refer to photos step 0→10. If you like videos better: 8 minute silent youtube video or watch my longer video about the design and narrated assembly

Step 0. print parts, see 3D printing settings below

Step 1. insert the two rails into back piece: they and their slots are marked with 1 and 2 little notches, I designed it so the 2x2 wedges will fit only if they are oriented correctly.

Step 2. screw in the fan (using plate screws from the inside?). Two corners are probably enough to hold. (you might need to power on the screen with the fan plugged in to test the fan orientation). It's best if the wire goes to the side away from the USB port (as shown in the photo above)

Step 3. plug in the two knobs (from the bottom) and secure them with the remaining two wedges. The wedges should point towards the bottom of the screen

If printing the front too:

Step 4. assemble the button: attach the L shaped "button-insert" into the button, oriented as shown in the drawing (step 4). It is a tight fit, you might need to carve a bit from the insert to fit. Adjust the insert to get the perfect distance from the switch.

Step 5. glue in the hexnuts or use the heat-set inserts (see above)

Step 6. Carefully peel off the antenna from the side of the original back (you can heat it gently with a hair dryer if it is sticking too much). You can see in my video I actually did not stick it to the new bakc, just put a piece of label backing paper on it to preserve its stickiness.

Step 7. place the board into the front of the case with the screen facing down. Align the screw holes

Step 8. add the power button (shorter wing down). It should line up with the switch on the board

Step 9. plug in the fan

Step 10. secure the back of the case with the 4 screws. You might need to apply a little force for the sides to line up and snap together

Step 11. slide the screen on the mounting bracket on the side of the printer (bracket not inlcuded in this model)

I show you all of these steps in this 8 minute silent youtube video or watch my longer video about the design and narrated assembly

PS: if you installed it, make sure to try with the lights turned off in the room. There is an internal light that projects a fun pattern on the desk in front of the Klipper screen through the newly designed vent holes :)

UPDATES

UPDATE 1: fixed all watertightness issues
UPDATE 2: added a clean box front variant without any text, logo or pattern
UPDATE 3: Updated the "SOVOL vent" back variants where the "L" is now projected correctly. Updated the heat-set insert front variants to have a little chamfer to help you center the inserts (D4.5).

I have added multiple back variants with openings for the second USB Type-C socket on the top, and a 7mm hole on the side for bulk-head Wifi antenna.

I have also added "clean" front variants without any texture (no logo, text or motif).

Choose the "top USB" variants of both top and bottom for the secondary Type-C port to be accessible.

This image hightlights the new options

I hope I haven't overcomplicated things, there are 11 back and 11 front variants now, you can easily choose the one you need by checking the keywords in the file names. Please let me know if you have a better idea, or missing any variation.

UPDATE 4: Locking knob option - if you hate that the screen slides out of the bracket too easily. Print a pair of "knob locks" and "locking knobs" (instead of the regular knobs). After sliding in the screen you will be able to plug the holes with the knob locks. Turn them to lock them in place. See animated image

Thank you for all your support!

3D-Druckeinstellungen

Alle Teile sind so ausgerichtet, wie Sie sie drucken können. Keine Ränder und keine Stützen notwendig!

Die empfohlene Anordnung der Bauplatte entnehmen Sie bitte dem beigefügten Screenshot.

Er druckt gut aus PLA, und wenn ein Lüfter verwendet wird, arbeitet er weit unter der Glasübergangstemperatur von PLA. Wenn Sie nicht planen, einen Lüfter hinzuzufügen, wird zumindest PETG empfohlen!

Hier sind meine Cura-Einstellungen:

  • Ebenenhöhe 0,2 (einschließlich erster Ebene), Linienbreite 0,44

  • Wände: 4! (1,6 mm) für Stärke, Wandanordnung von außen nach innen für Genauigkeit. Z-Naht-Ausrichtung schärfste Ecke, Ecke bevorzugt: ausblenden

  • Oben/unten nach Belieben (ich aktiviere gerne 1 die obere Deckschicht mit Linien und 90°, aber es ist innen, also sollte es keine Rolle spielen). Wichtig: Mit der neuen Firmware musste ich die Hautüberlappung auf 40% einstellen. Wenn Sie mindestens 8 Ober- und Unterschichten haben (z. B. 4/4 oder 5/3), gibt es keine oder nur eine minimale Füllung auf der Rückseite/Vorderseite. Die Stärke der Rückseite kommt vom inneren Rahmen

  • Die Ausfachung ist nicht wichtig, es wird fast keine verwendet, die Stärke kommt von vielen Wänden. Ich hatte die Füllung auf 10% Gyroide eingestellt.

  • Geschwindigkeit ist mit 180 ideal für die Genauigkeit, außer für die erste Schicht, die auf 70 eingestellt ist. Wenn man zu schnell ist, passt es vielleicht nicht zusammen.

  • Kühlung: max (die Fase des Frontscheibenausschnitts hat einen relativ steilen Überhang)

  • Keine Krempe, keine Stützen notwendig! Sie können eine Schürze anbringen.

  • Drucken Sie "alles auf einmal". Die kleinen Teile profitieren vom Abkühlen, während der Rest gedruckt wird.

  • Es gibt keine Brücken und nur wenige Überhänge, alle unter 45° (in Orca/Prusia Slicer die Option "Überhänge druckbar machen" aktivieren, um Auskragungswarnungen zu vermeiden)

Bei diesen Einstellungen beträgt die Druckzeit 3 Stunden, 88g Filament für das komplette Gehäuse. 2Stunden 58g, wenn nur die Rückseite gedruckt wird.

Werbung


Seite mithilfe von automatischer Übersetzung übersetzt. Originalversion ansehen.
Problem mit diesem Design? Ein Problem melden.

Werbung

Möchtest du Cults unterstützen?

Gefällt dir Cults und möchtest du uns dabei helfen,das Abenteuer in völliger Unabhängigkeit fortzusetzen? Beachte, dass wir ein kleines Team von 3 Personen sind und dass es daher sehr einfach ist, uns dabei zu unterstützen, weiterhin im Geschäft zu bleiben und zukünftige Entwicklungen zu schaffen. Hier sind vier Lösungen, die allen zugänglich sind:

  • WERBUNG: Deaktiviere deinen adblocker und klicke auf unsere Werbebanner.

  • MITGLIEDSCHAFT: Führe deine Onlineeinkäufe durch, indem du auf hier auf die uns zugehörigen Links bei Amazon klickst.

  • SPENDE: Wenn du möchtest, hast du die Möglichkeit, uns hier über Ko-FI eine Spende zukommen zu lassen 💜.

  • MUND-ZU-MUND-PROPAGANDA: Lade deine Freunde dazu ein, die Website und die großartigen 3D-Dateien kennenzulernen, die von der Community geteilt werden!

Werbung
100 % sichere Zahlung mit PayPal oder Kreditkarte.