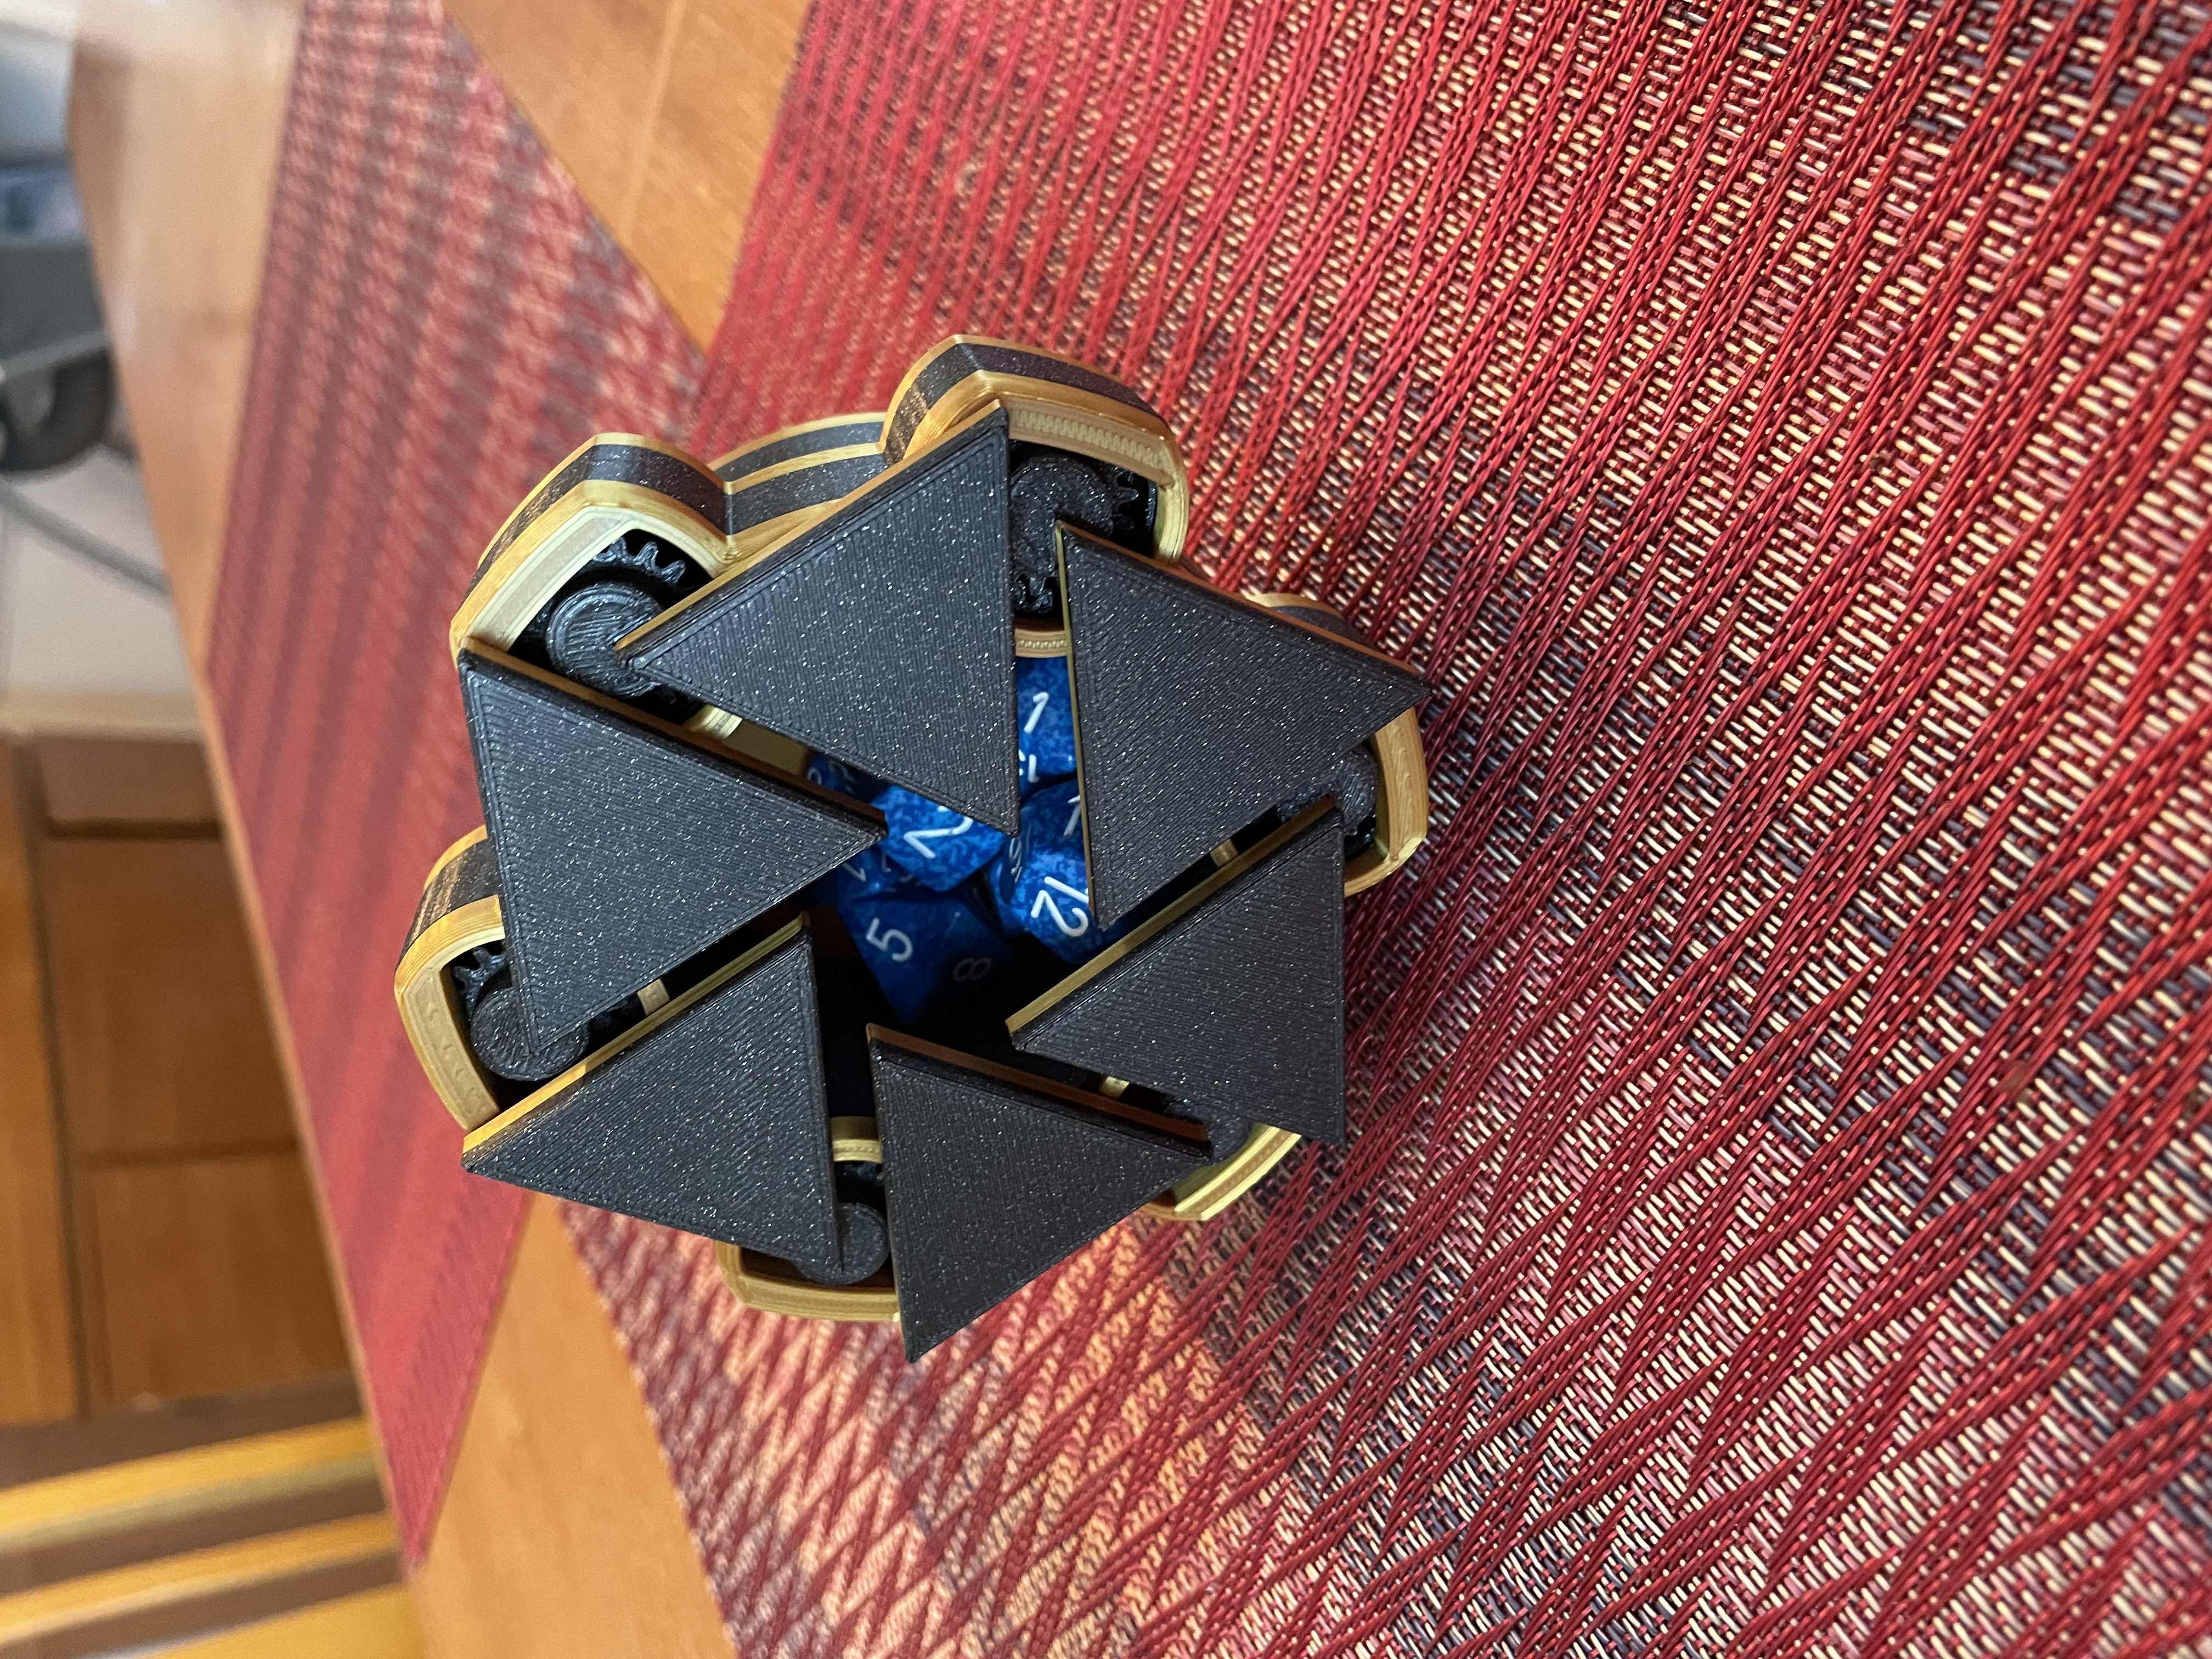
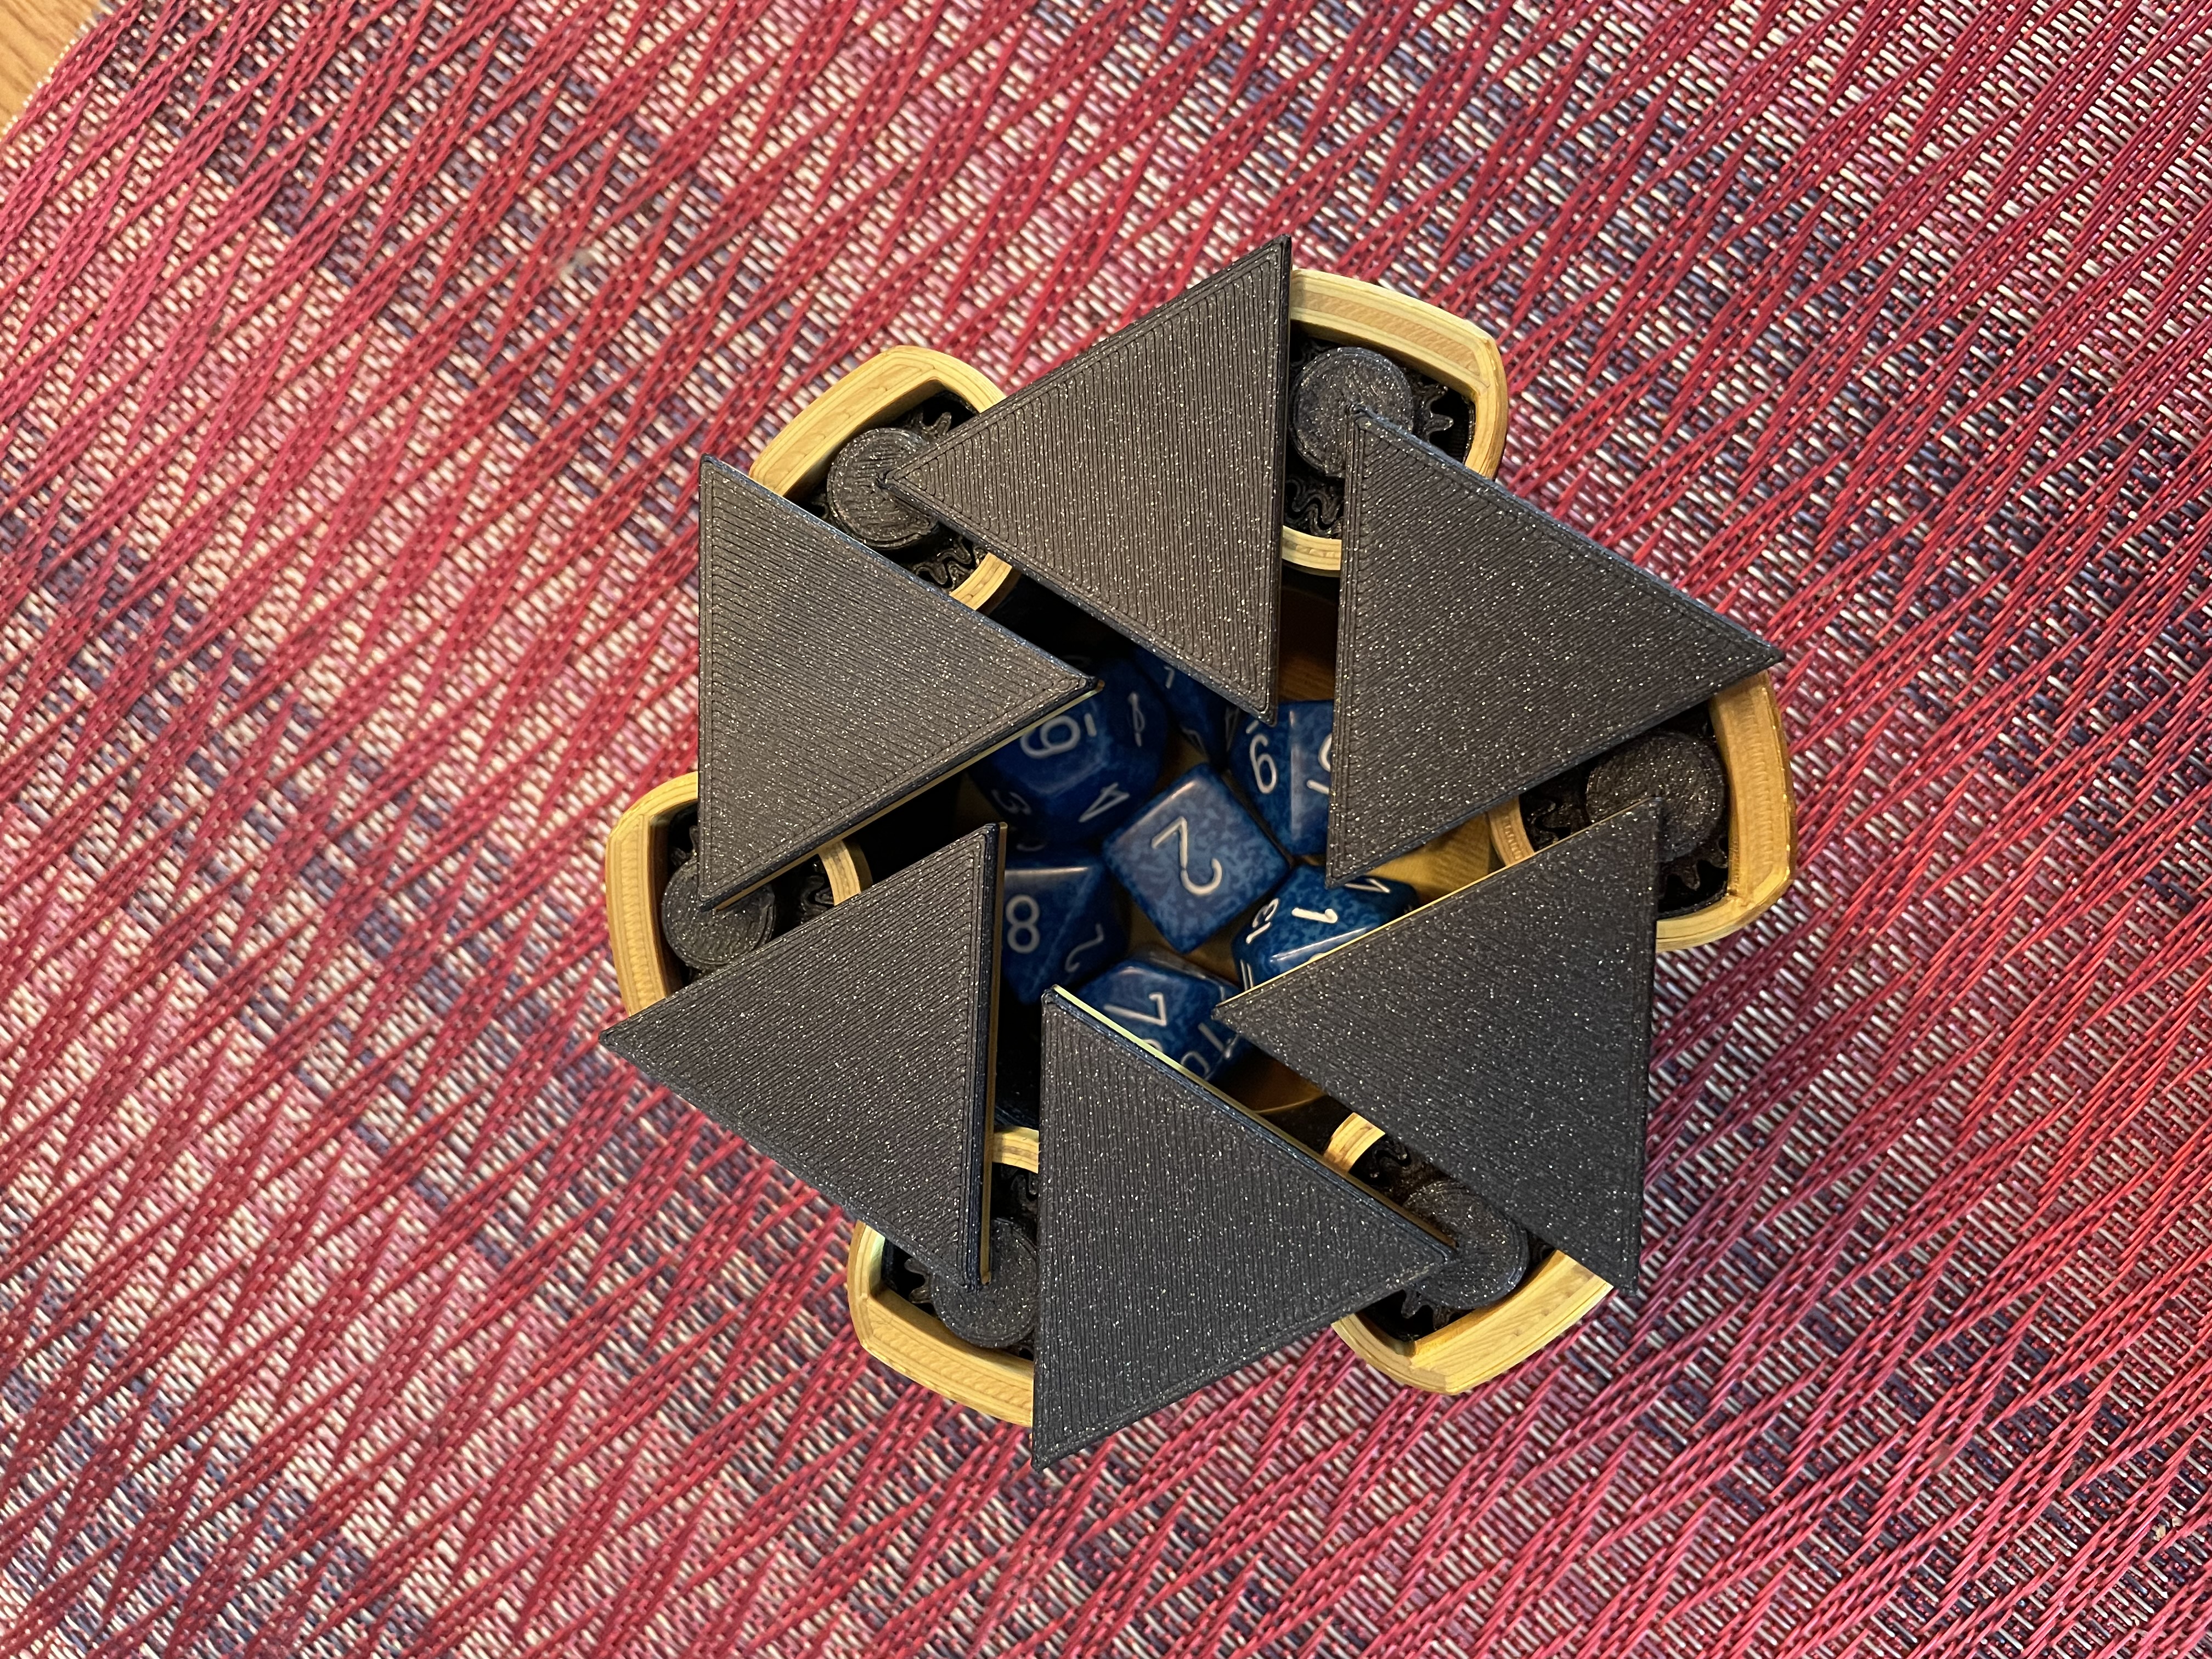
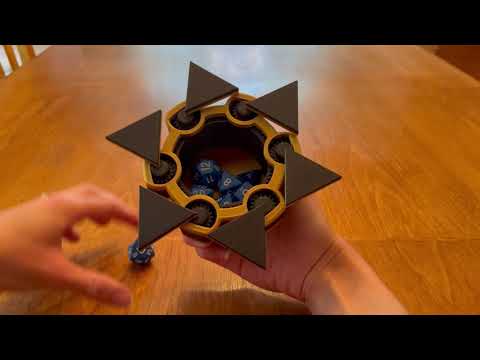
Mechanical Spinning Top Dice Box
:format(webp)/https://files.cults3d.com/uploaders/18839247/illustration-file/4895709c-19b0-40fc-8e16-eba5d6951371/undefined-Imgur.gif)


/https://preview3d-images.cults3d.com/variants/ynksxvcrfsdo4g6mtk76l8rpv7zf/0efb2e1d82dc631f5d34681a1ec0e058e5293ebb996af2b22972af828007c8d8)
/https://preview3d-images.cults3d.com/variants/wnu4lcesq78gvq6vl6l9jwraq3ag/0efb2e1d82dc631f5d34681a1ec0e058e5293ebb996af2b22972af828007c8d8)
/https://preview3d-images.cults3d.com/variants/nwbl7jcfb1m7smnl3ozrbh3jyvz5/0efb2e1d82dc631f5d34681a1ec0e058e5293ebb996af2b22972af828007c8d8)
/https://preview3d-images.cults3d.com/variants/bixtg52wvux9e0q8ghhvz94g1e6v/0efb2e1d82dc631f5d34681a1ec0e058e5293ebb996af2b22972af828007c8d8)
/https://preview3d-images.cults3d.com/variants/i3rstxsrl9lad6lzzch52u83bv9h/0efb2e1d82dc631f5d34681a1ec0e058e5293ebb996af2b22972af828007c8d8)
/https://preview3d-images.cults3d.com/tun1h3gj46ps5cm4z68y6ioourt9)
Advertising
?
Creation quality:
4.1/5
(39 votevotes)
Evaluation of members on the printability, utility, level of detail, etc.
Your rating:
0/5
- 267k views
- 2.3k likes
- 2.5k downloads
- 20 collections
- 20 comments
- 18 makes
| Licence | CULTS - Private Use |
|---|---|
| Last update | 2022-09-22 at 04:08 |
| Publication date | 2021-07-01 at 16:57 |
| Design number | 463051 |
| 3D design format |
STL Folder details Close
|


Issue with this design?
Report a problem.
Advertising
Would you like to support Cults?
You like Cults and you want to help us continue the adventure independently? Please note that we are a small team of 3 people, therefore it is very simple to support us to maintain the activity and create future developments. Here are 4 solutions accessible to all:
ADVERTISING: Disable your banner blocker (AdBlock, …) and click on our banner ads.
AFFILIATION: Make your purchases online by clicking on our affiliate links here Amazon.
DONATE: If you want, you can make a donation via Ko-Fi 💜.
WORD OF MOUTH: Invite your friends to come, discover the platform and the magnificent 3D files shared by the community!
Advertising