Skip to content

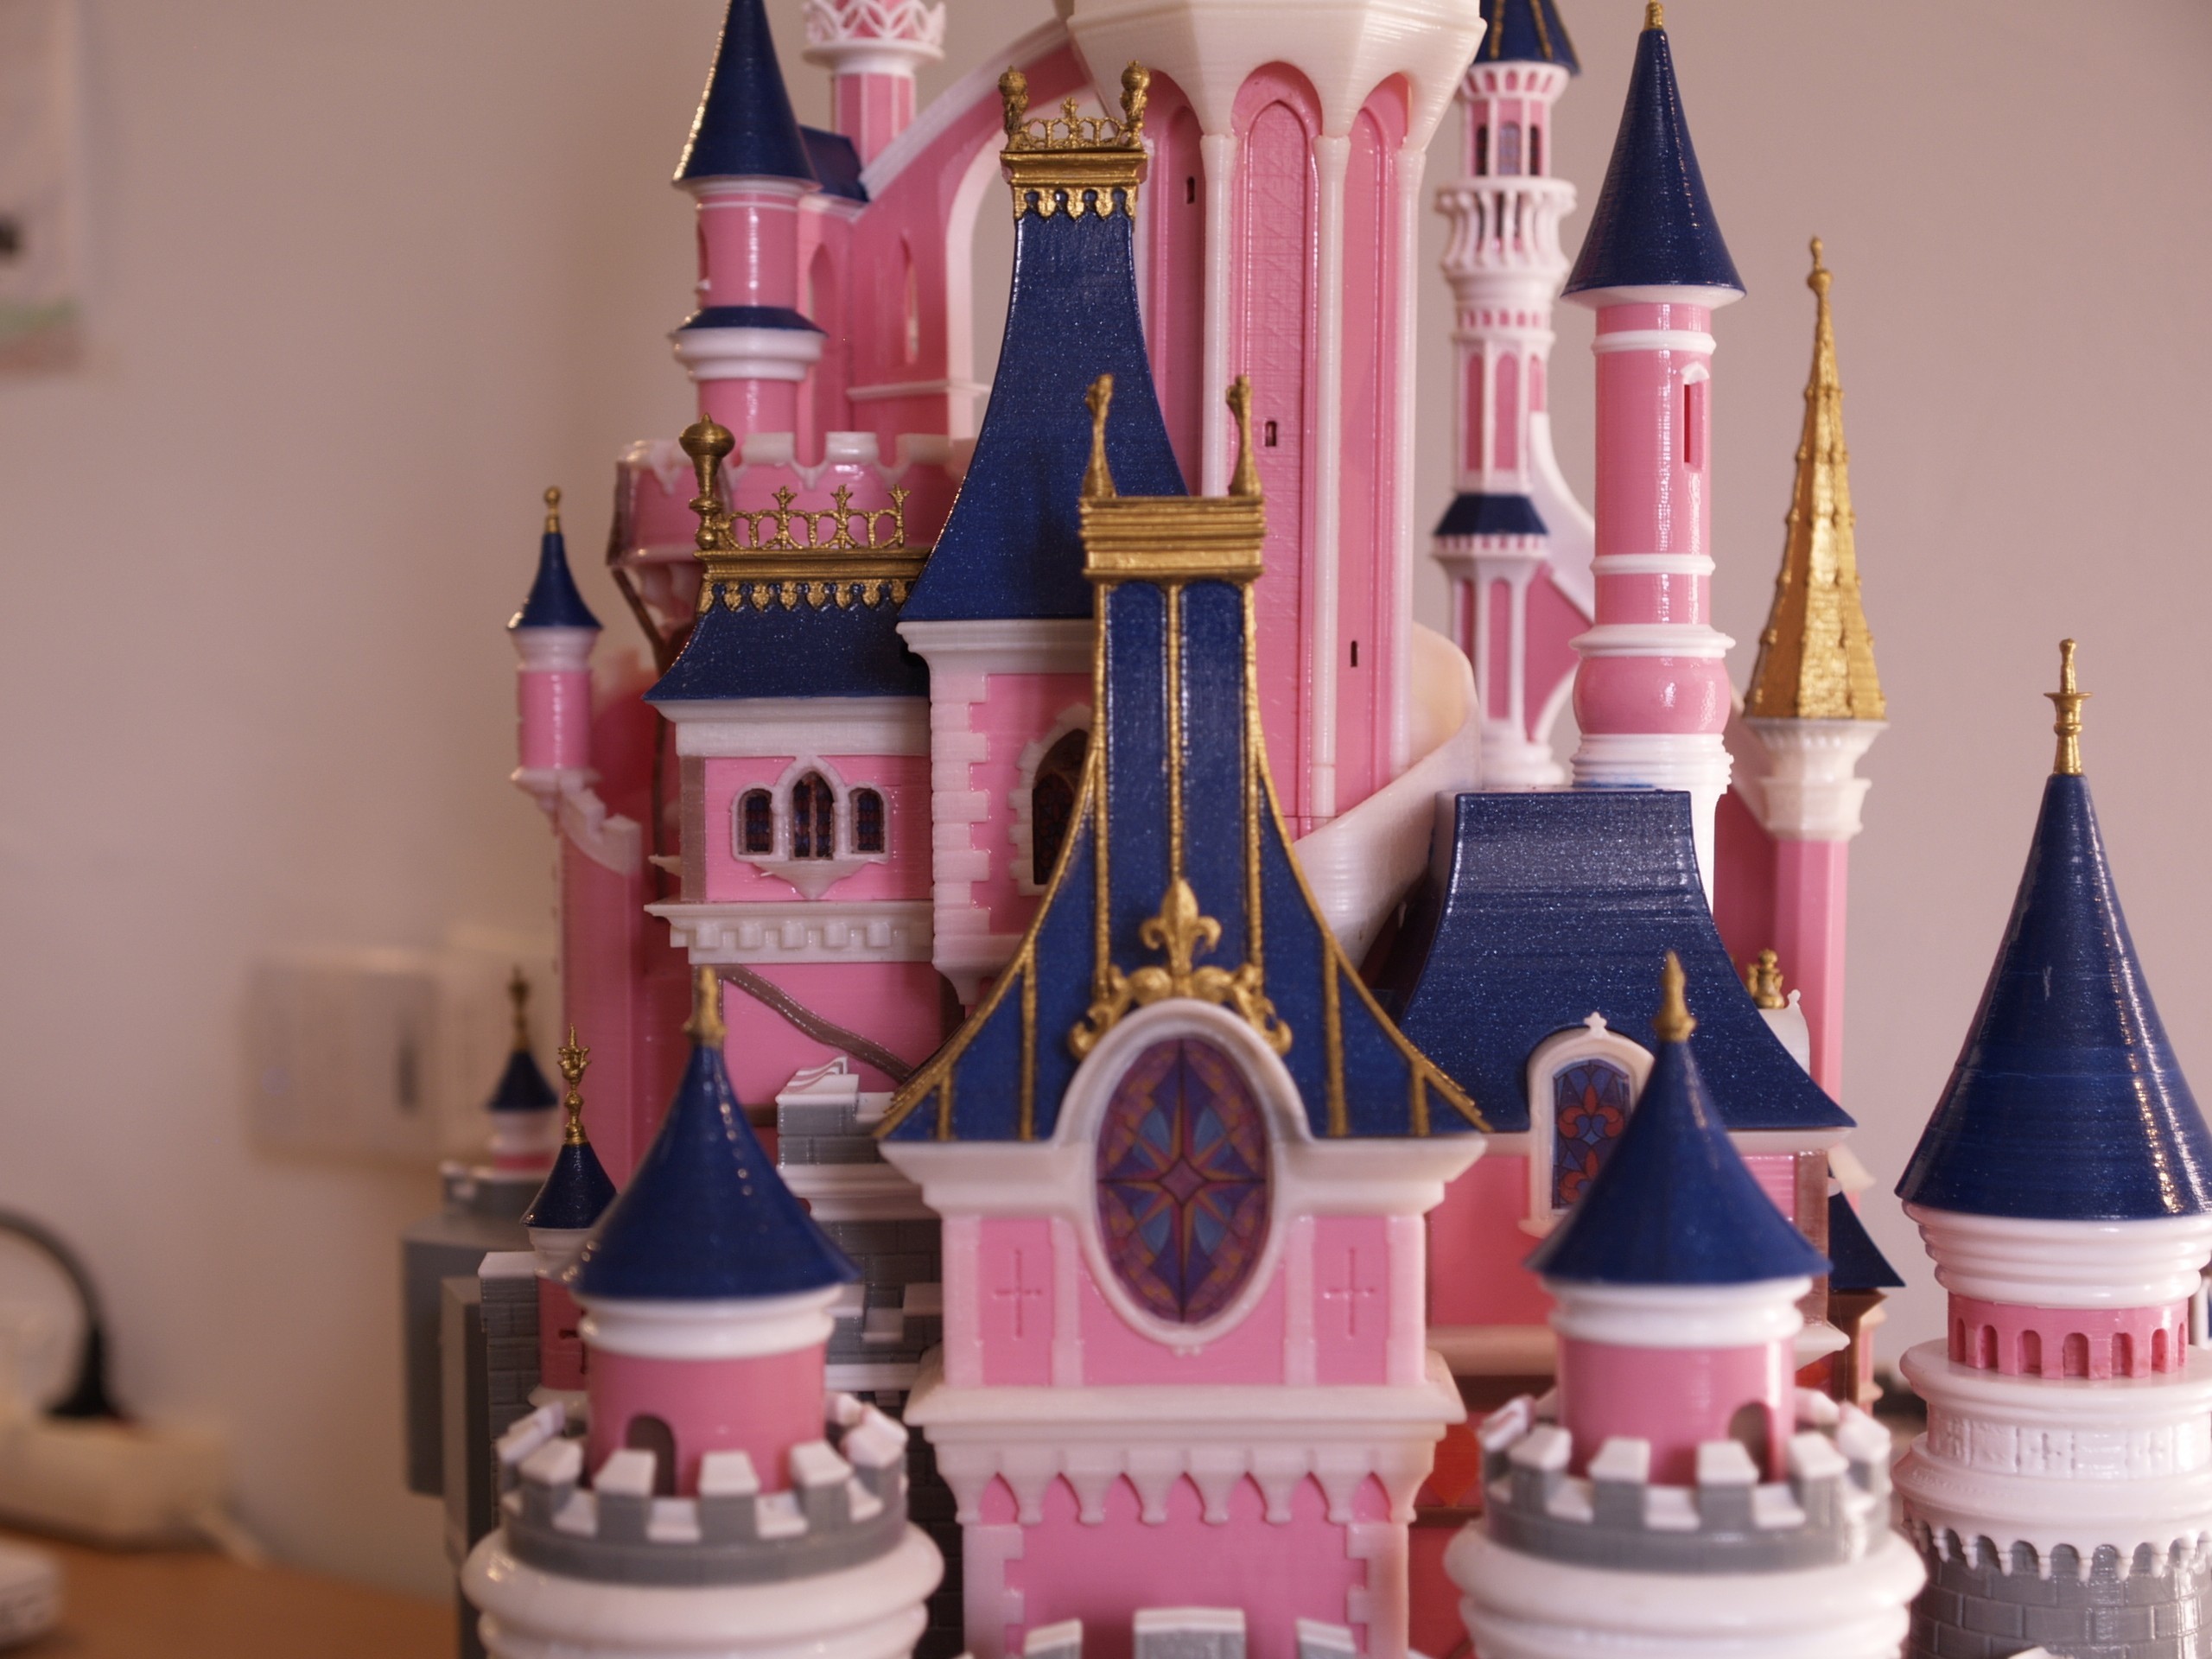
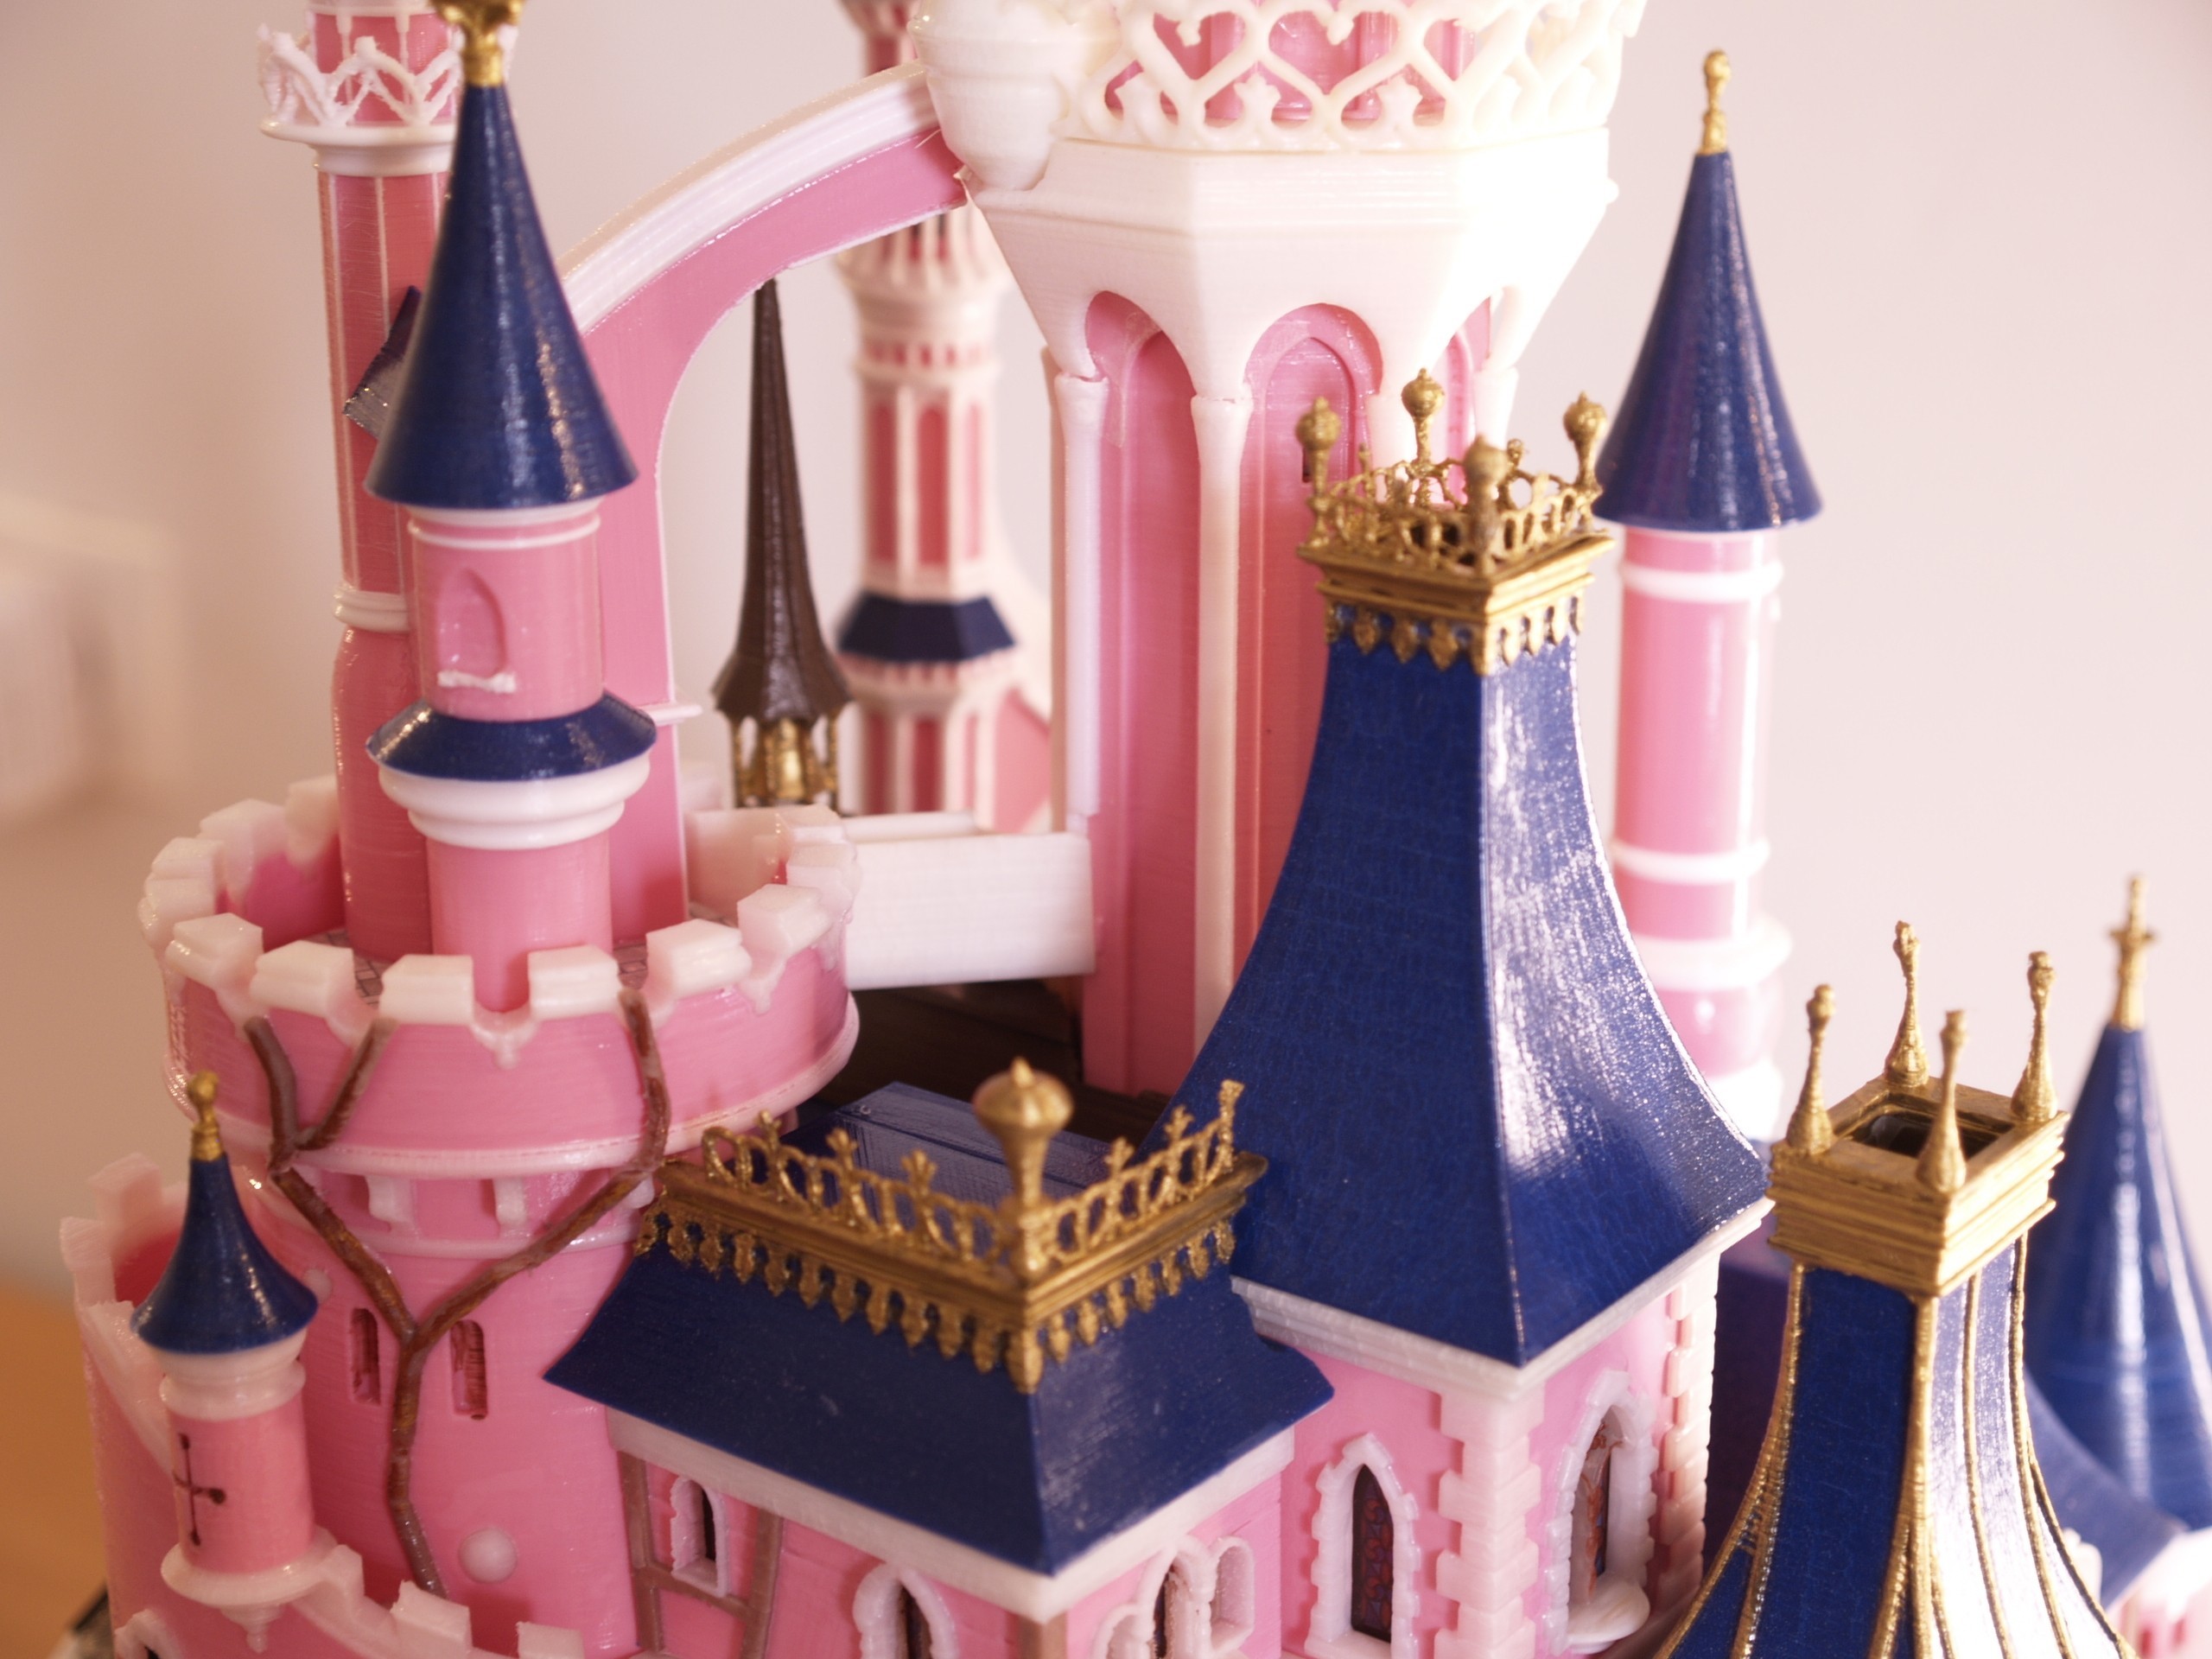
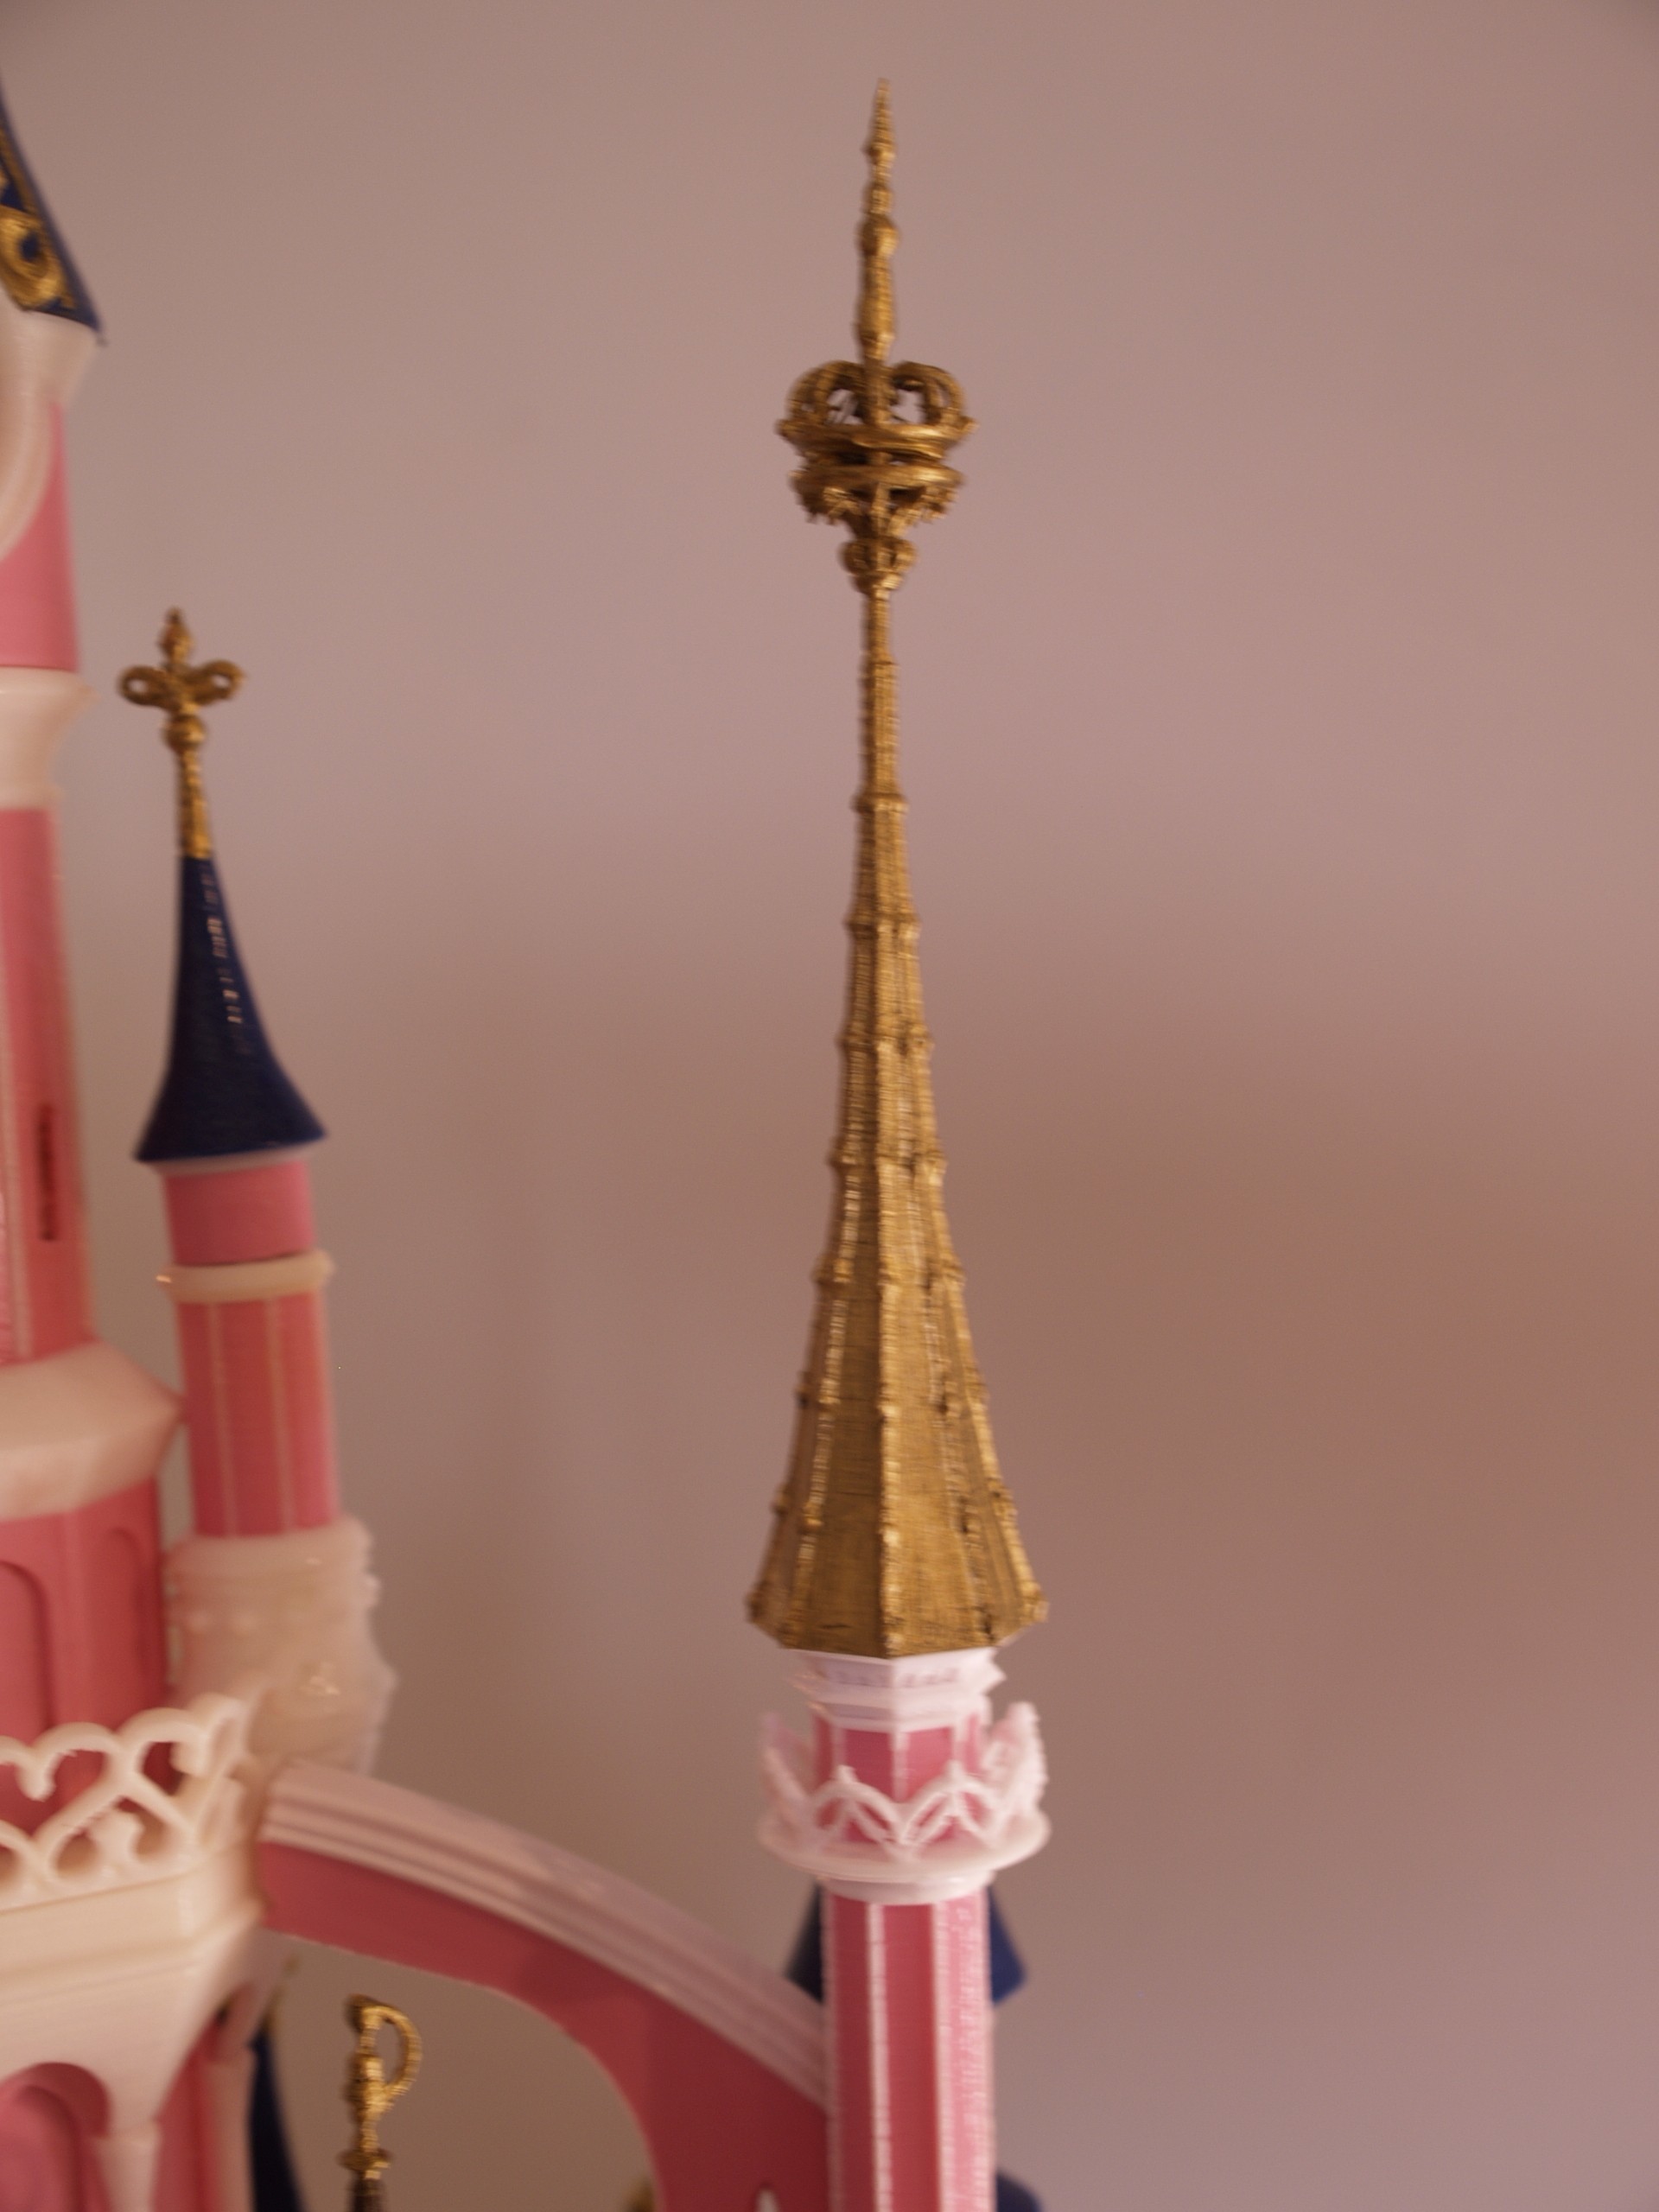
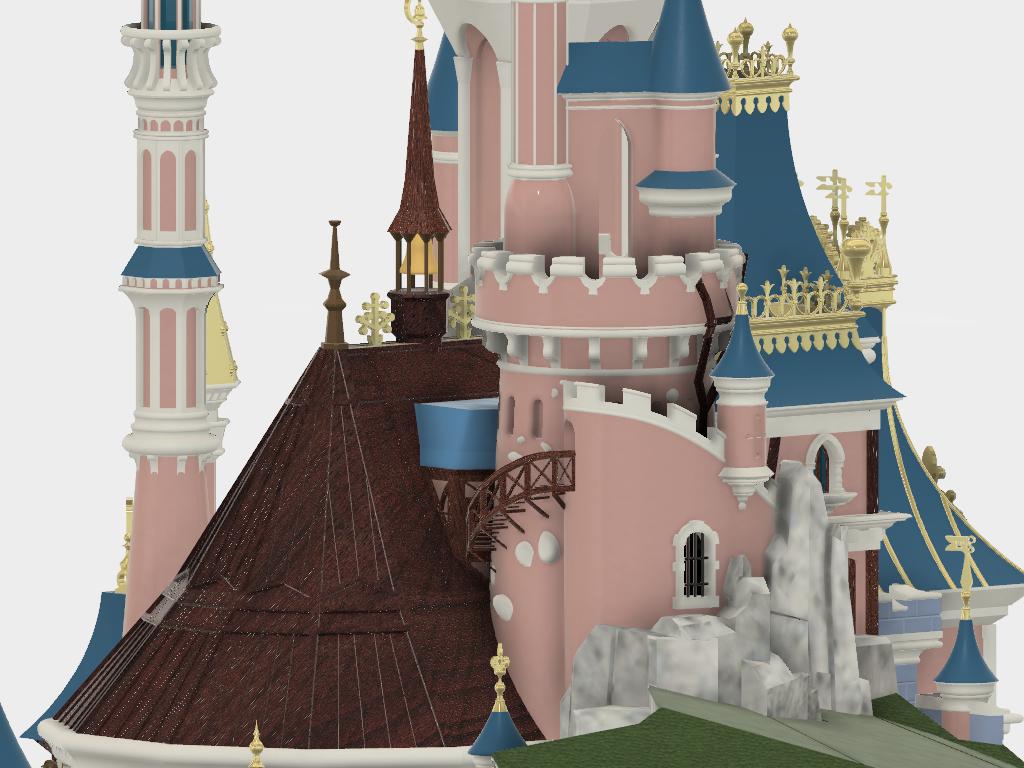
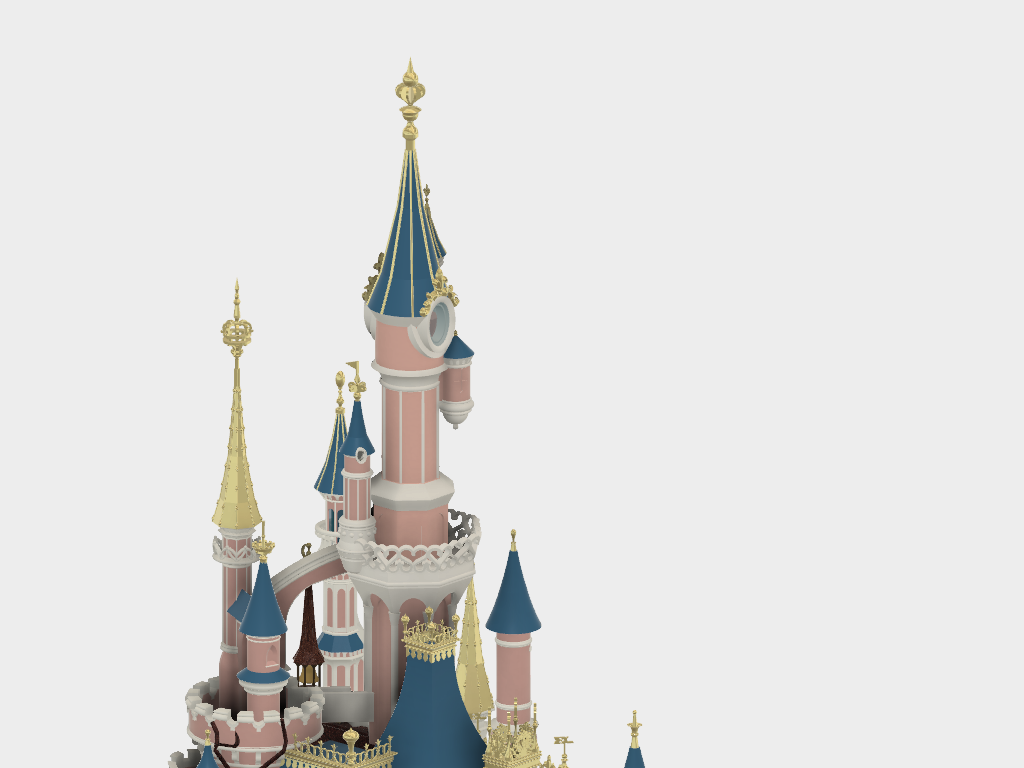
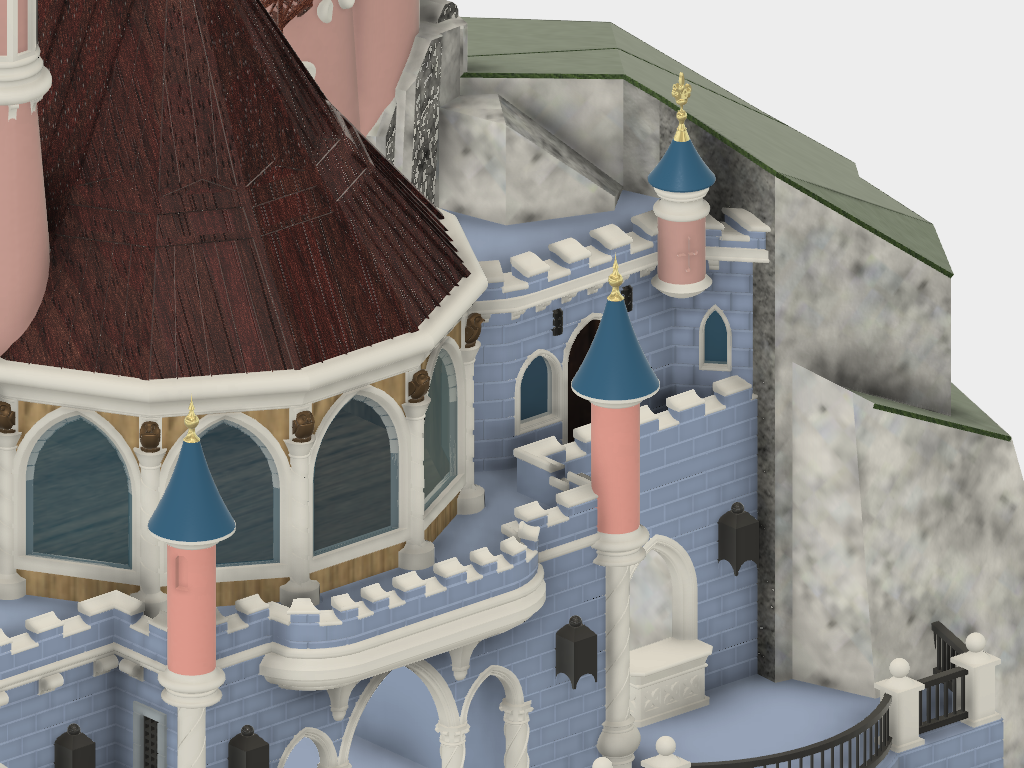
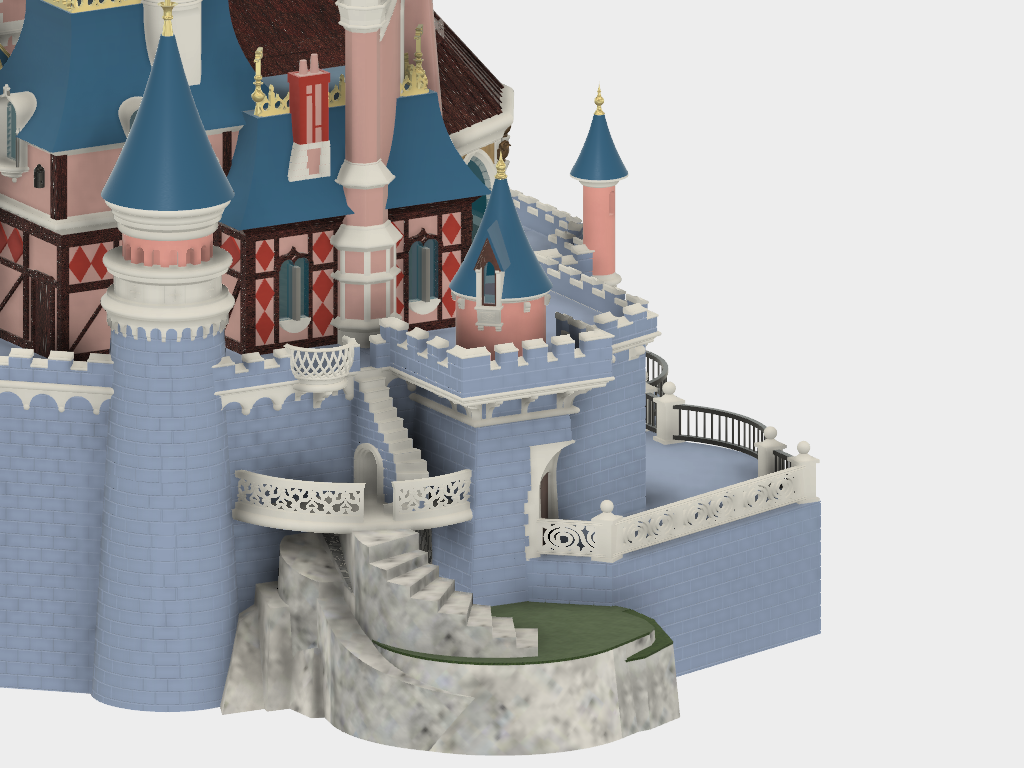
Chateau Disneyland Paris with Prusa MK2S MMU (Ed2)

Advertising
?
Creation quality: 5.0/5 (14 votes)
Evaluation of members on the printability, utility, level of detail, etc.

  • 117k views
  • 762 likes
  • 7.4k downloads
  • 5 collections
  • 13 comments
  • 2 makes

Licence CC BY-NC-ND
Last update 2019-08-30 at 00:18
Publication date 2018-09-28 at 21:15
Design number 33453
3D design format
ZIP Folder details Close
  • Chateau Disneyland Paris Archive WinRAR ZIP.zip

Learn more about the formats

3D printer file info

3D model description

Passionate about chateau and Disney, I undertook to make a model of Disneyland Paris' Château de la Belle au Bois Dormant. The first difficulty in modeling the castle was to find sufficiently detailed plans, as the many photos taken on site did not allow the building, which is very complicated, to be accurately reconstructed.

After a lot of research I came across Robert Nava's extraordinary paper model on his website https://www.disneyexperience.com/models/dlpcastle

I therefore reused these plans to model the entire castle, enriching the paper model with architectural details taken in photos on site and not reproducible on paper.

A few hundred hours were necessary for the modeling, which was done under Fusion 360 but much more for the printing! With a Prusa MK2S printer with the 4-colour Multimatéraux option, the modeling was done in such a way as to print the parts directly in the desired colours, which minimizes or even eliminates the need for a paint finish.

The colours used are those closest to the original, pink, white, glitter blue, gold, red, green, light and dark brown, light and dark grey.

The assembly manual I put in the files is the one of the paper model. It does not apply of course but will help you in the assembly because I kept the same letter references as in Robert Nava's model, the assembly is quite delicate because of the interlocking of the parts, and it will be necessary from time to time to use the cutter or file to adjust the parts. There is indeed no play between the different parts in the modeling.

It is in conclusion a very big job, but the result rewards the past hours, as you can see on the pictures of the model in its current state, because it is not yet finished (the first 15 pictures). I also added screenshots of the modeling.

It should be noted that I have taken over the drawings from the paper model for the finishing of the doors and stained glass windows, which have been printed in translucent sheets to allow the castle to be illuminated.

Good realization to those who will embark on the adventure, I will answer as much as possible the questions or difficulties that you may encounter. Please do not hesitate to make any comments. Be careful the.zip file is 124 Mb.

It is of course forbidden to resell in any form whatsoever files or prints from this project (the original plans are free and Disney jealously watches over its copyright!!!), but you can share it as you wish, without however modifying it.

I would like to thank Robert Nava again for his exceptional modeling work, without which I would not have been able to complete this project.

Edition 2 OF NOVEMBER 1, 2018

The files in the "Access ramp" folder have been redrawn to make them easier to print.

3D printing settings

The mock-up includes nearly 700 files that can be difficult to handle. Files are classified by folder, a folder contains files that can be printed together, but it is up to each person to make tests and make the cutting that suits them according to the capabilities of their printer, and the cutting may be different from the one I propose. The parts are calculated to be printed on a Prusa MK2 which has a printable volume of 250 x 210 x 200 mm. With smaller printers, some parts will have to be cut back. It's quite easy with slicers like Slic3r.

Some parts will require supports, but I have tried to minimize them.

It is of course possible to make this model with a single color printer but it is necessary to reassemble the files to have STL printable in monoextrusion. I use the SLIC3R Prusa edition slicer which manages multiextrusion and allows a reassembly in monoextrusion.

The set was printed in PLA in 0.15mm. I performed a post treatment on the parts with dichloromethane (or methylene chloride) which acts on PLA like acetone on ABS. I use it to smooth and glue the parts. Attention it is a very dangerous product to handle with mask, gloves and... caution.

Advertising


Page translated by automatic translation. See the original version.
Issue with this design? Report a problem.

Advertising

Would you like to support Cults?

You like Cults and you want to help us continue the adventure independently? Please note that we are a small team of 3 people, therefore it is very simple to support us to maintain the activity and create future developments. Here are 4 solutions accessible to all:

  • ADVERTISING: Disable your banner blocker (AdBlock, …) and click on our banner ads.

  • AFFILIATION: Make your purchases online by clicking on our affiliate links here Amazon.

  • DONATE: If you want, you can make a donation via Ko-Fi 💜.

  • WORD OF MOUTH: Invite your friends to come, discover the platform and the magnificent 3D files shared by the community!

Advertising
100% secure payment with PayPal or Credit Card.